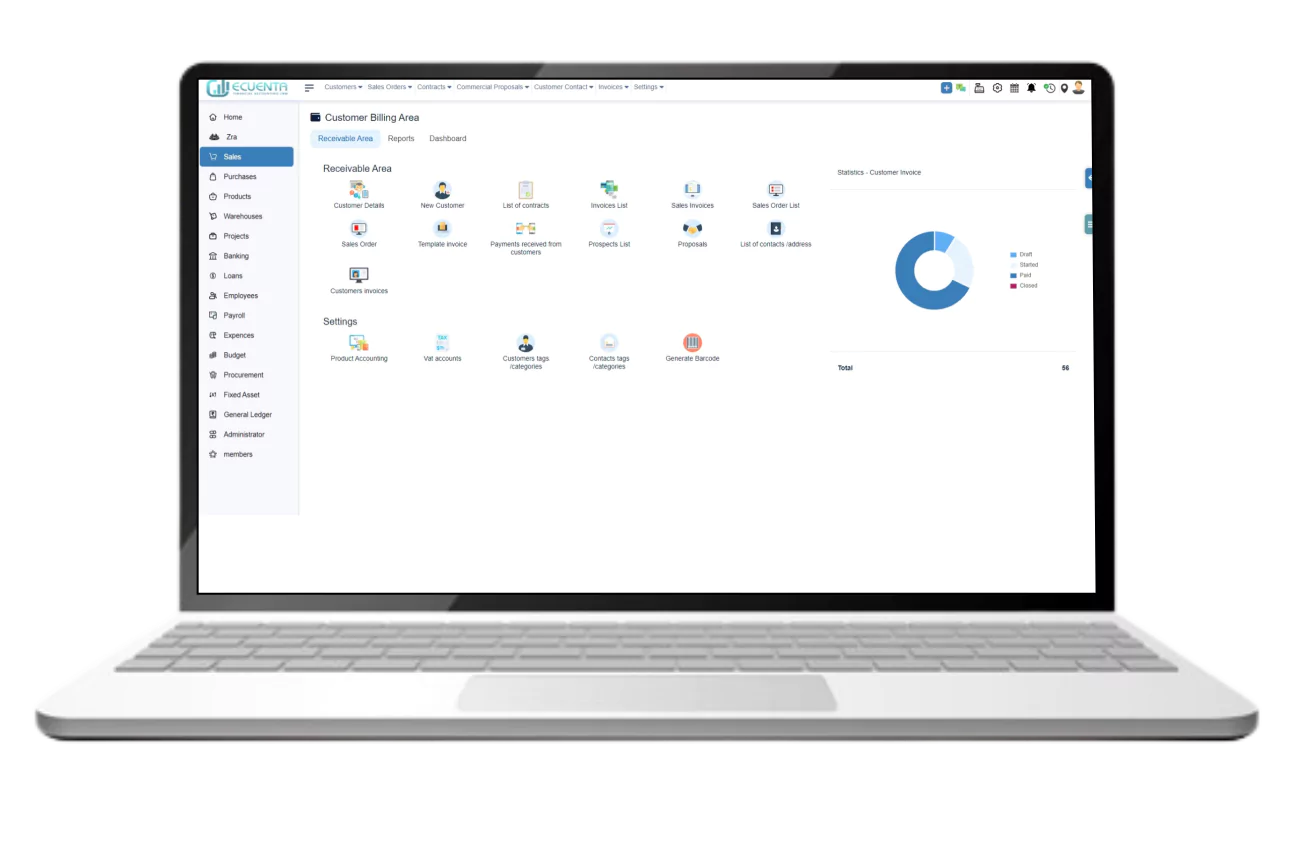
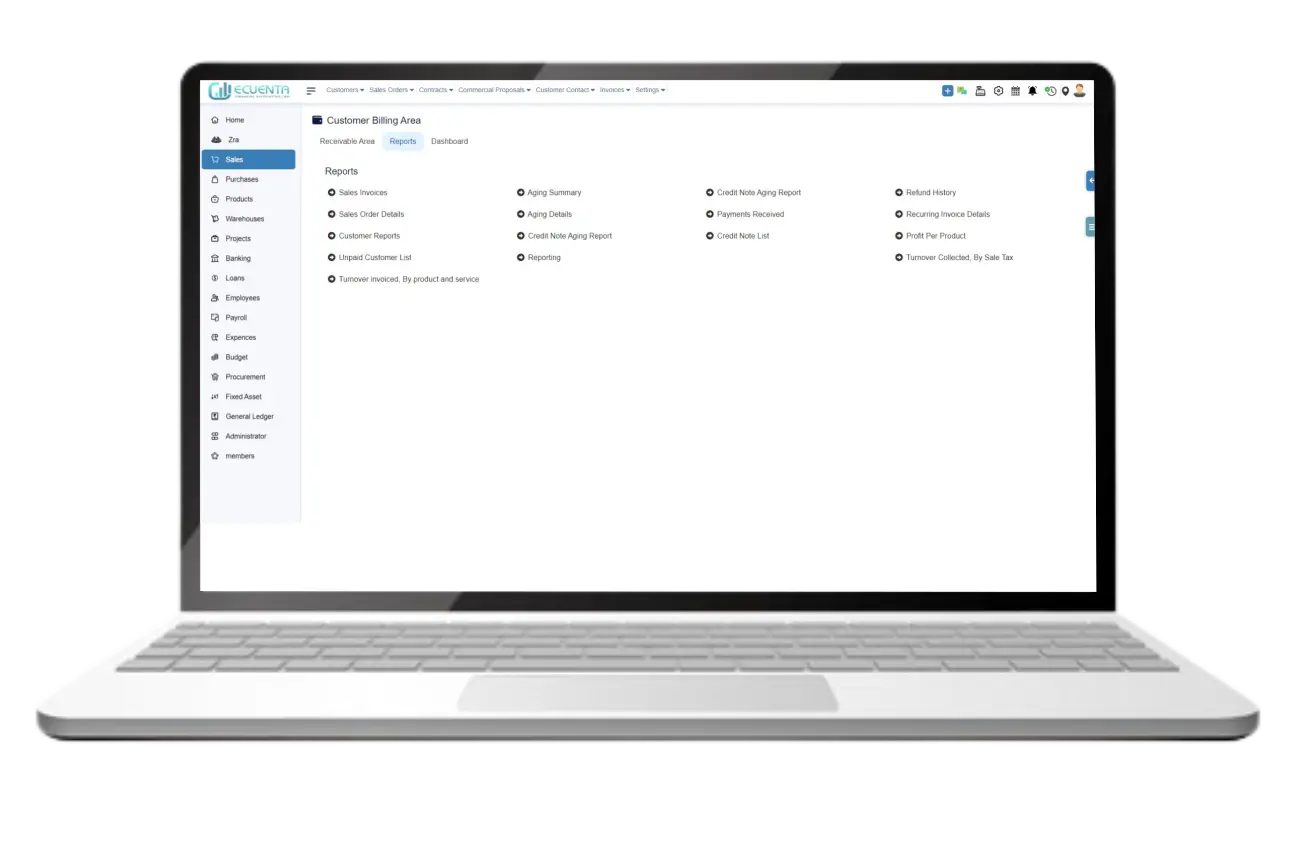
1. Customer Billing Area
The Customer Billing Area is where you can manage and view your customer invoices.
1.1 Receivable Area
It allows business owners and entrepreneurs to place orders, issue invoices, collect payments from customers, and handle refunds. The system also generates reports on every aspect of sales.
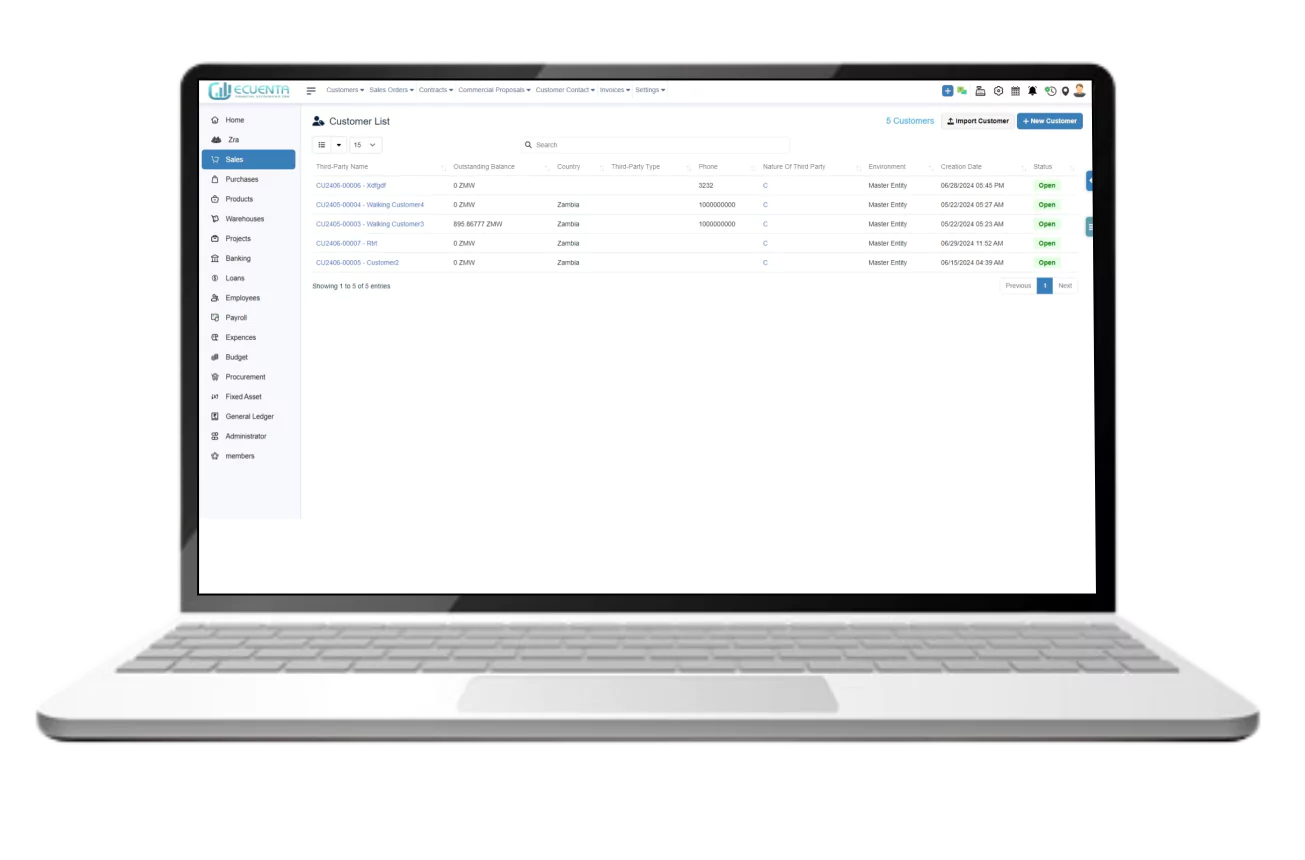
1.1.1 Customer Details
Click on it to open the customer list
Customer lists are lists of people or businesses who purchase services. The customer list allows for selecting the customer's name, viewing their information, and transactions. You have the option to monitor and evaluate customer information.
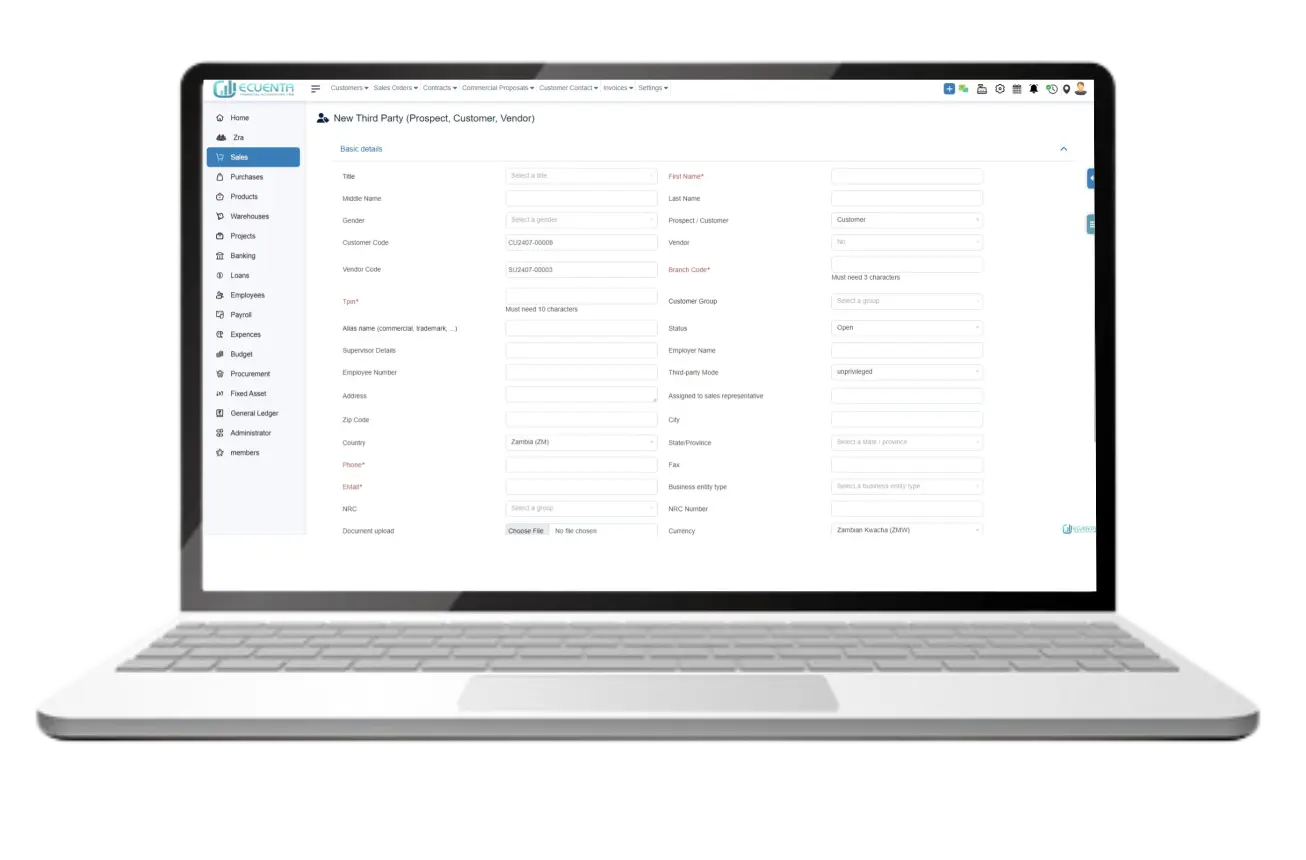
1.1.2 New Customer
Click on it to open the new customer list.
You can add new customers by filling out the Basic Details, the Professional Details, and the Social Media section.
Click on Create Third Party to save the customer details.
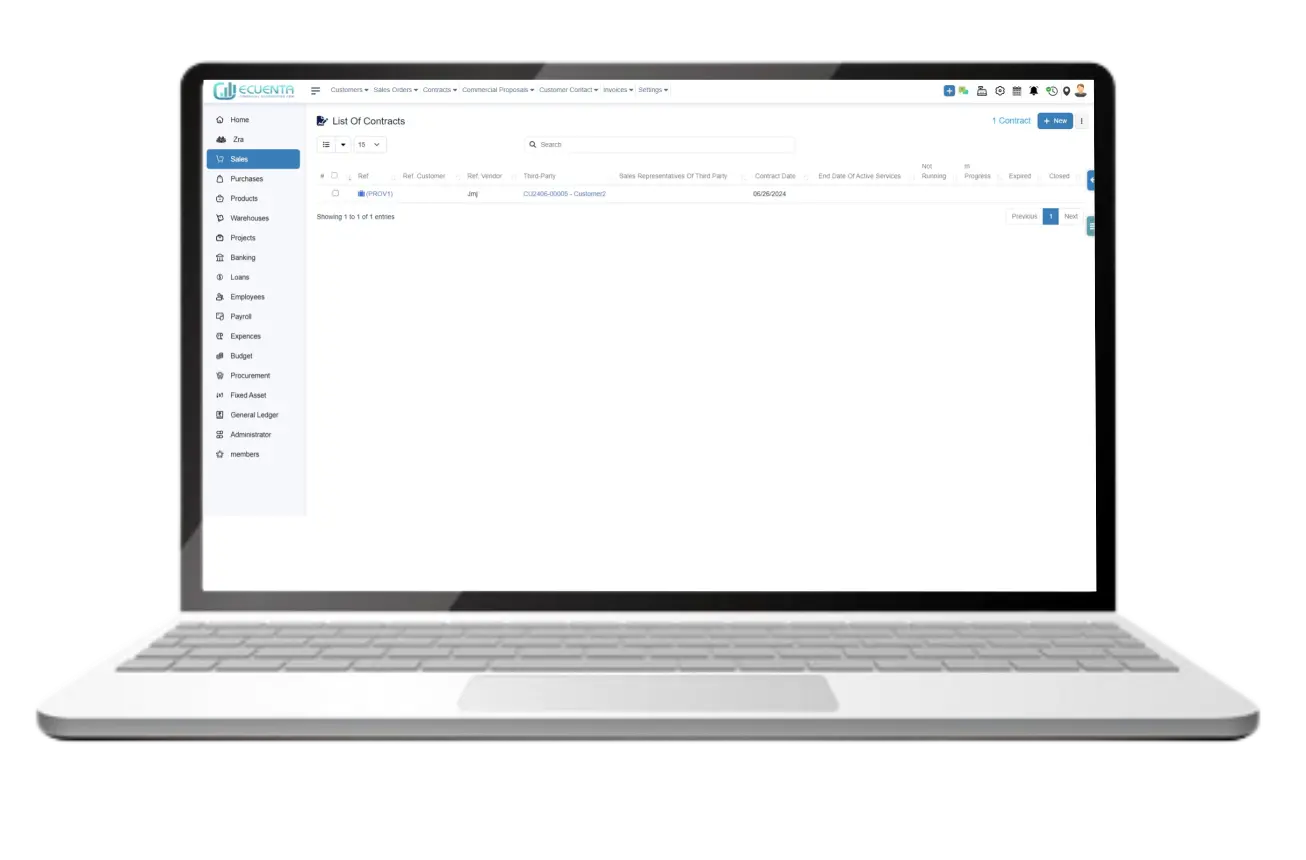
1.1.3 List of contracts
Click on the List of Contracts option.
It will display all the contracts that you have in your system. To view the list of running services, you need to apply a filter on the top right of the page.
Click on the and select the list from the filter.
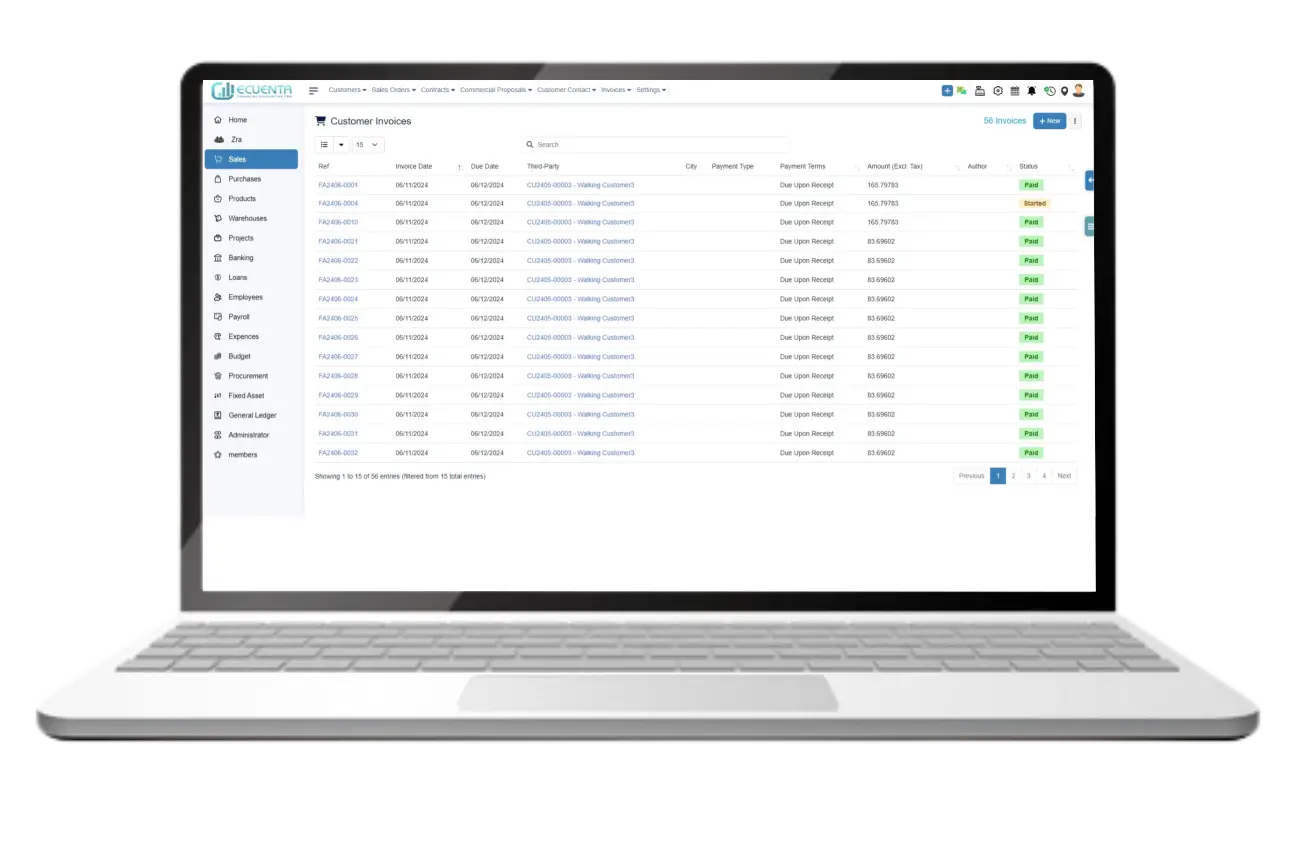
1.1.4 Invoices List
Click on the List of Invoices List option.
Where you can create and view all your invoices.
The new button allows you to create new invoices by entering the billing information
The invoice table displays the invoice date, due date, payment type, and payment status for all your invoices.
Using the filter on the top right of the Invoices page, you can see the total number of invoices, drafts, paid, and unpaid
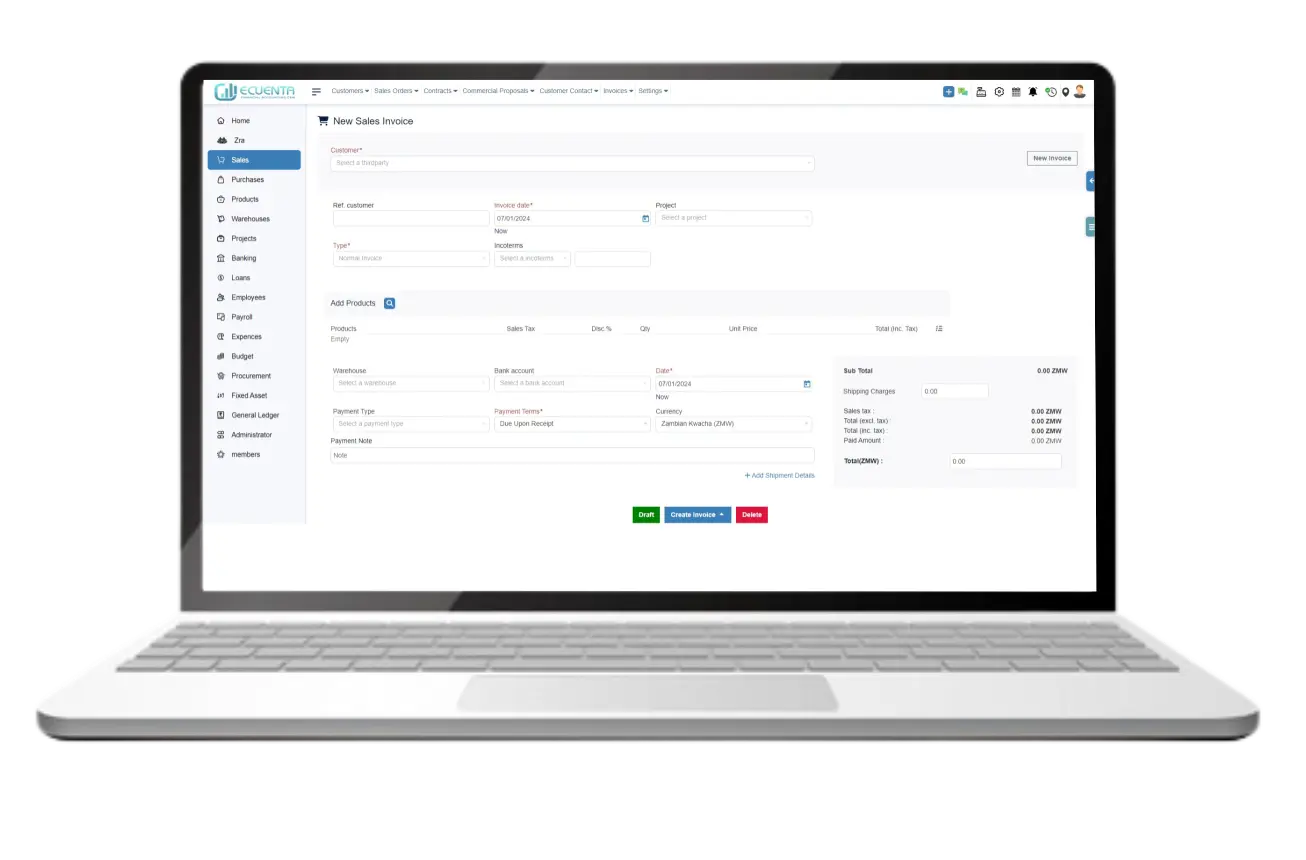
1.1.5 Sales Invoices
Click on Sales invoices, where you can create all your sales invoices.
You will be directed to entering the details for the new invoice to be created.
After filling up the required details, click on Create Invoice to add the new sales invoice.
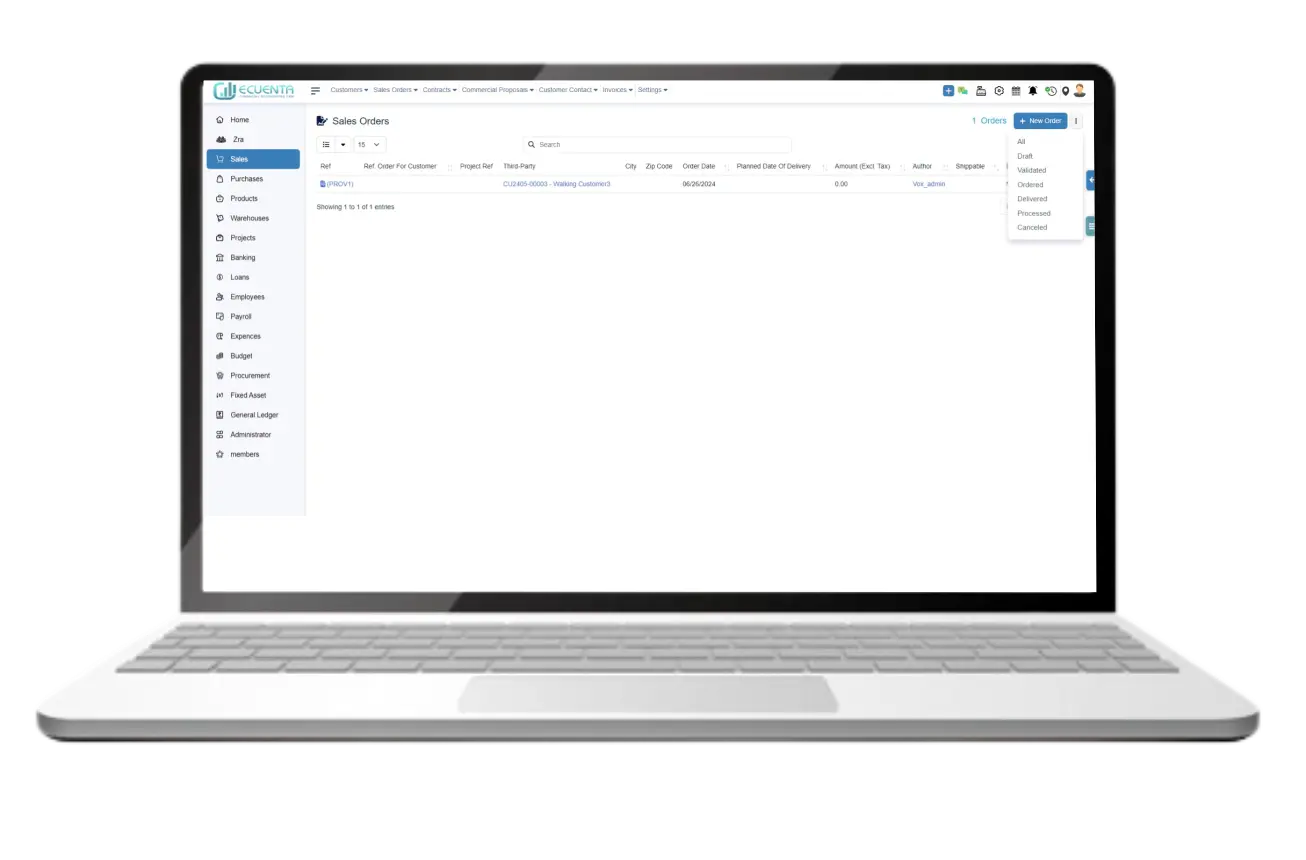
1.1.6 Sales Order List
Click on sales order list.
Where you can create and view all your sales orders.
The new button allows you to create new invoices by entering the billing information.
You will be directed to enter the details for the new sales order to be created
After filling up the required details, click on Save to add the new customer to the sales order.
Using the filter on the top right of the sales order list page, you can see the total number of delivered orders, drafts, canceled, processed, and validated orders.
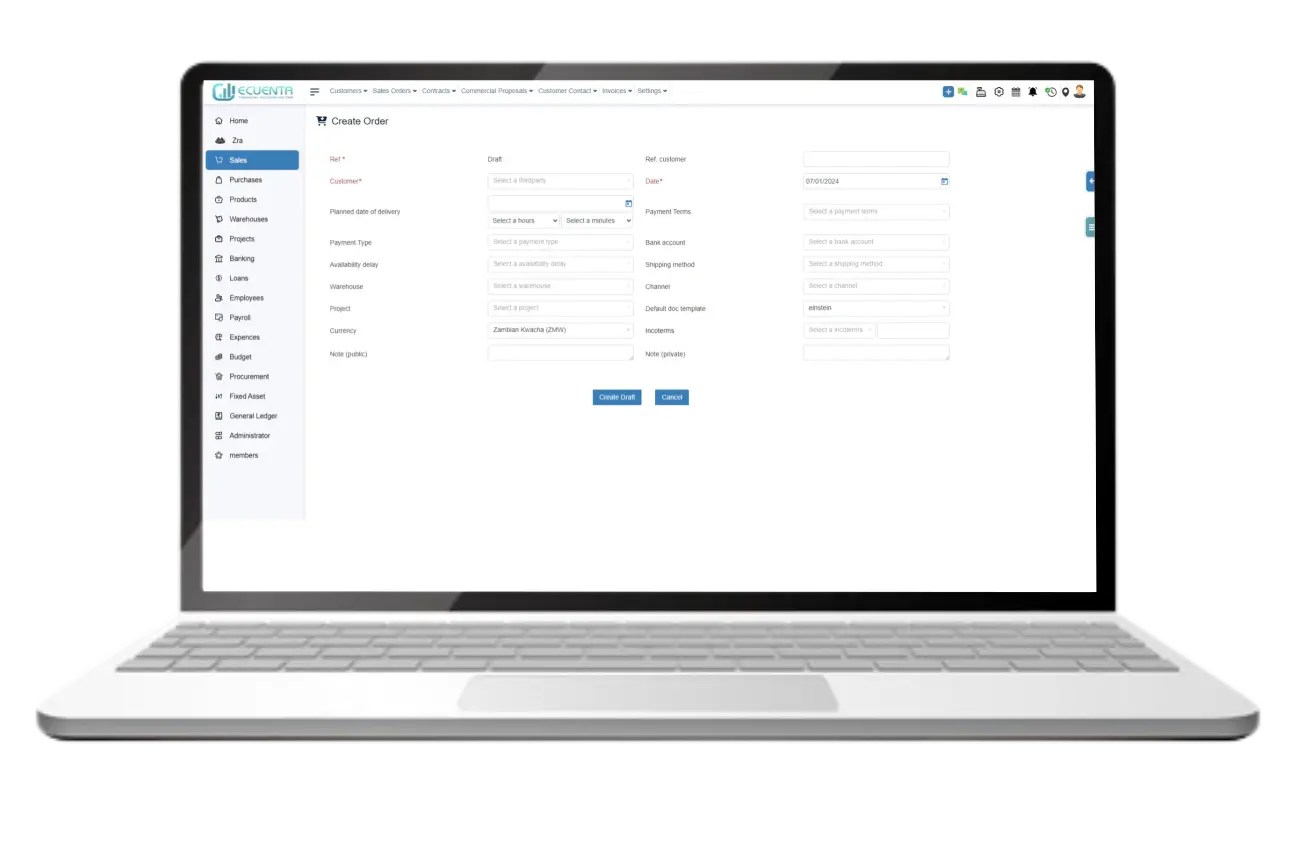
1.1.7 Sales order
Click on sales order list.
On this sales order page, you have the form for entering the details for the new sales order to be created.
After filling up the required details, click on Save to add the new customer to the sales order.
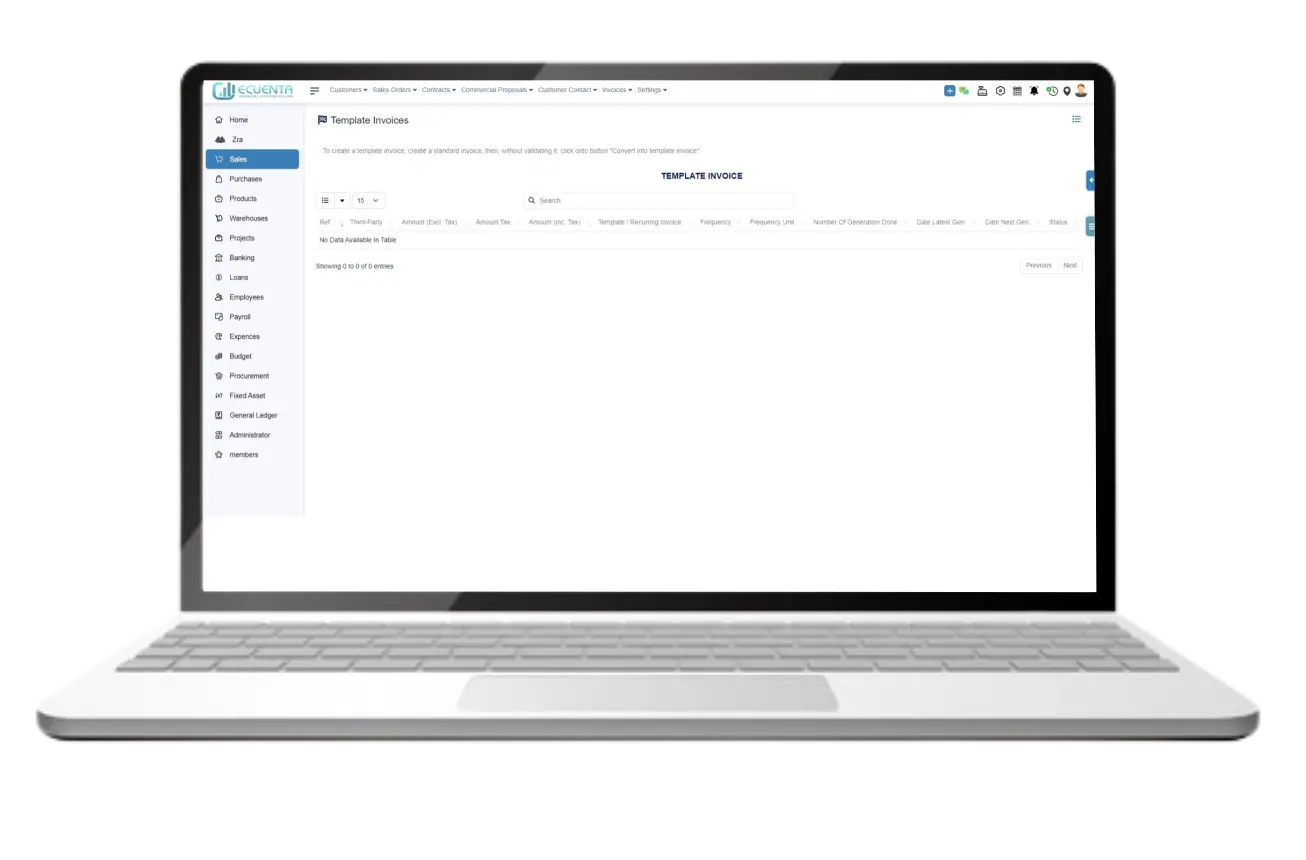
1.1.8 Template Invoices
Click on Template Invoices.
You will be directed to a page to view your list of template invoices.
To create a template invoice, you will need to create a standard invoice, then, without validating it, you will click on the button "Convert into template invoice
1.1.9 Payments Received from Customers
Click on payments received from customers.
You will be directed to view your list of reports containing all the details of the payments you’ve received from your customers.
The payments received from customers table displays the Date, Amount, account, and payment type for all your received payments.
When you click on the right top of
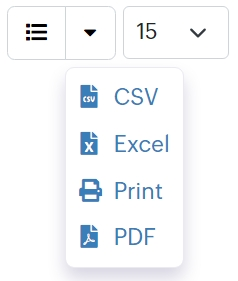 the icon, here you can download the list of all payments in CSV, PDF, and Excel formats.
Using the iconon the top right, you can view the report list of various departments.
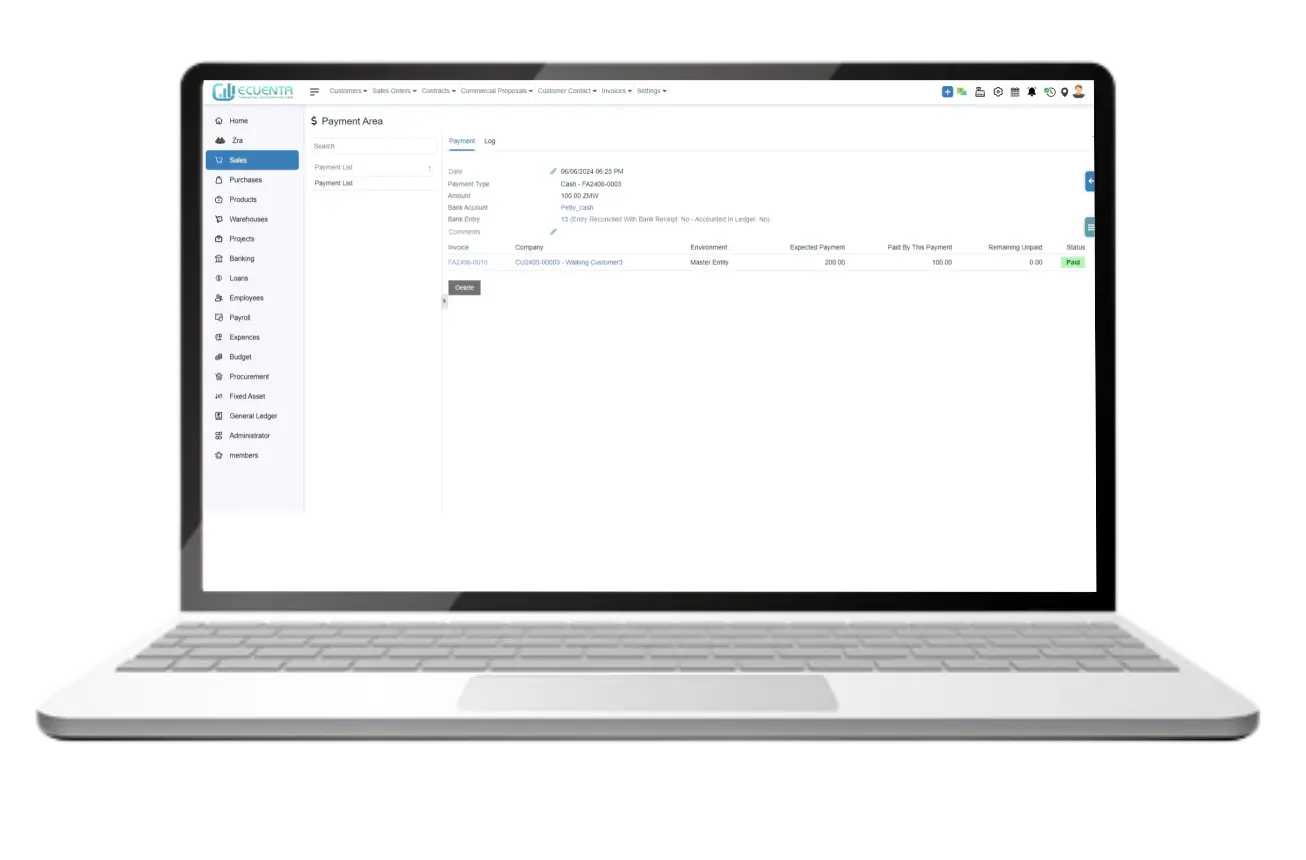
1.1.10 Payment Area
If you click on any REF PAYMENT, you will see the summary and invoice of the payment.
When you click on the log, you can see the details of Who Created It,Date of creation and latest modification.
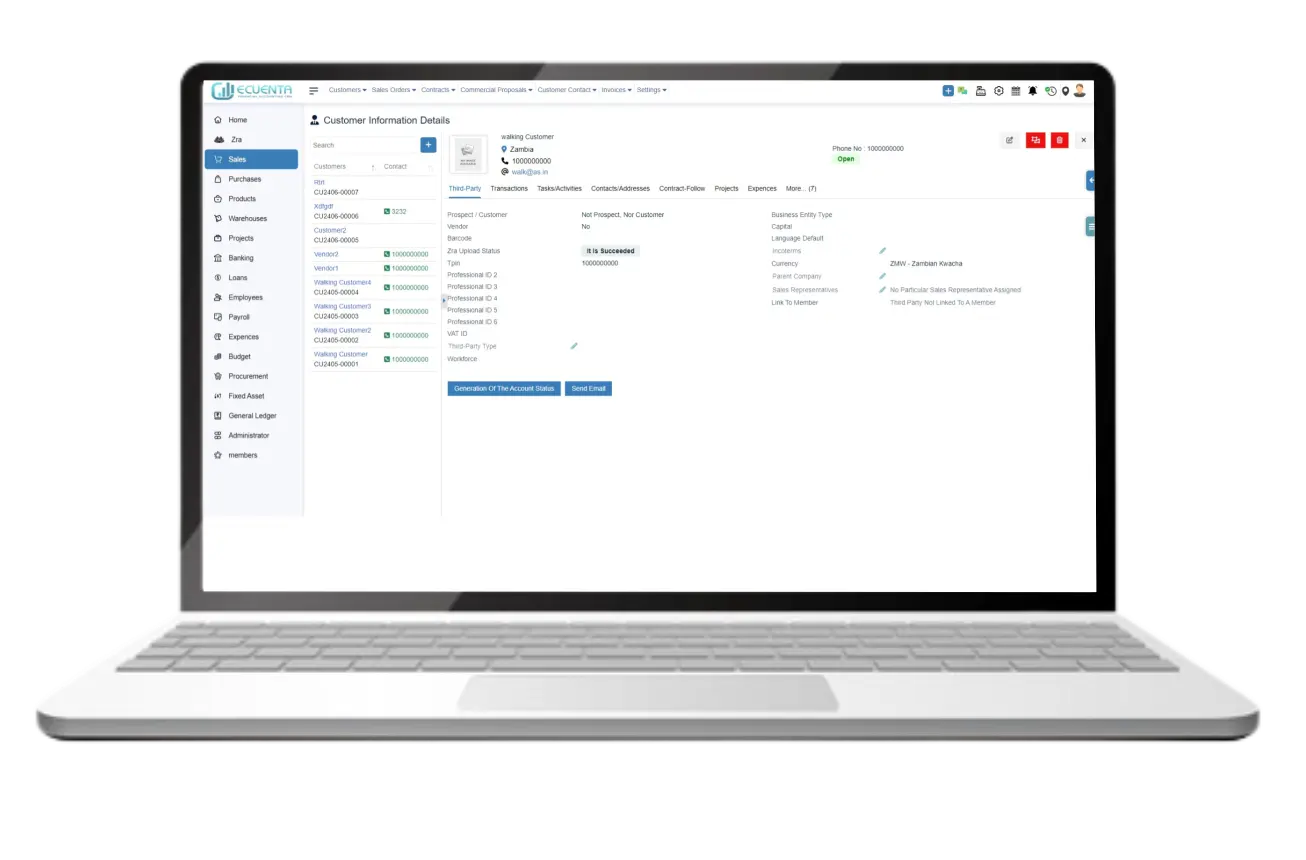
1.1.11 Customer Information Details
If you click on any company name, you will see a detailed summary of customer details.
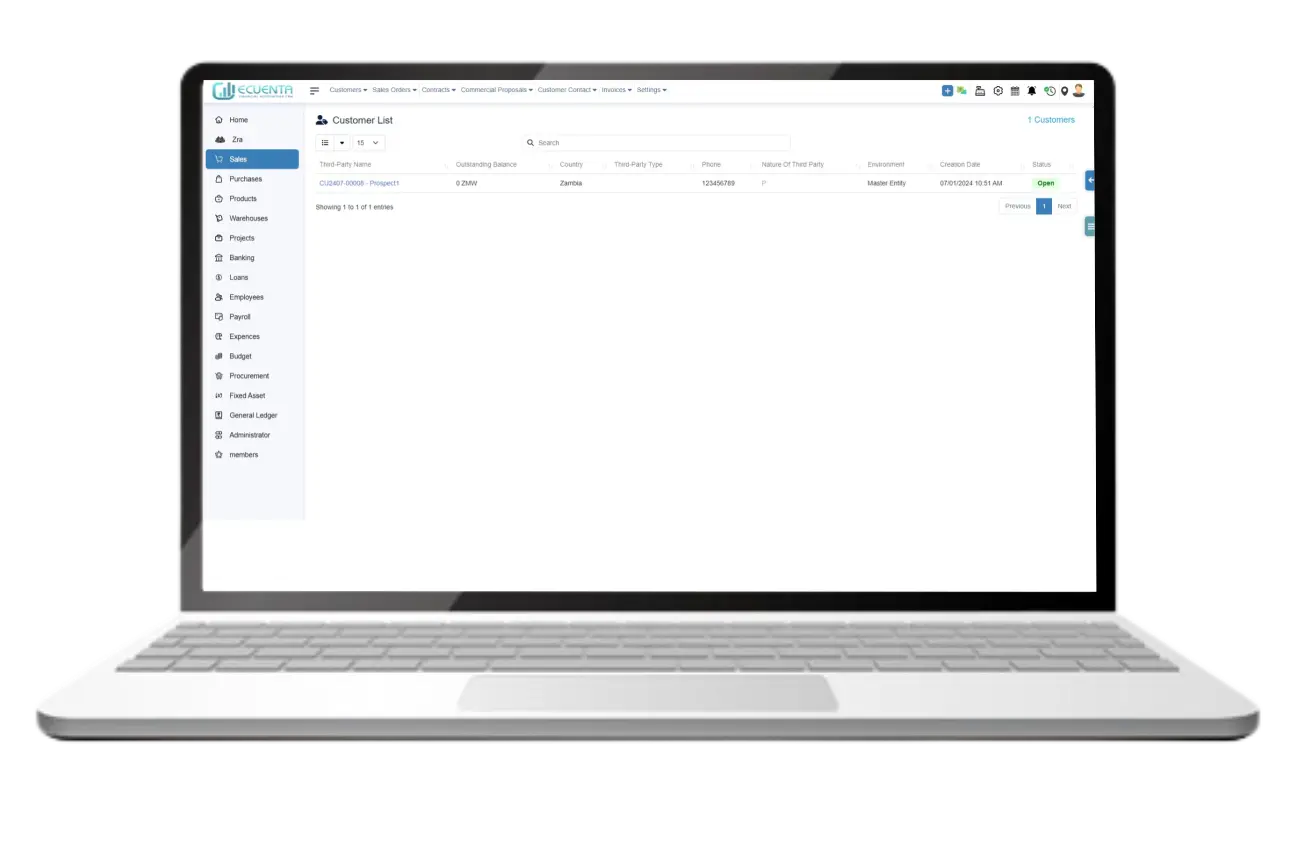
1.1.12 Prospects List
Click on Prospect list.
You will be directed to view a list of your potential clients.
If you click on any company name, you will see a detailed summary of customer information.
You will able to modify, delete, and merge customer information.
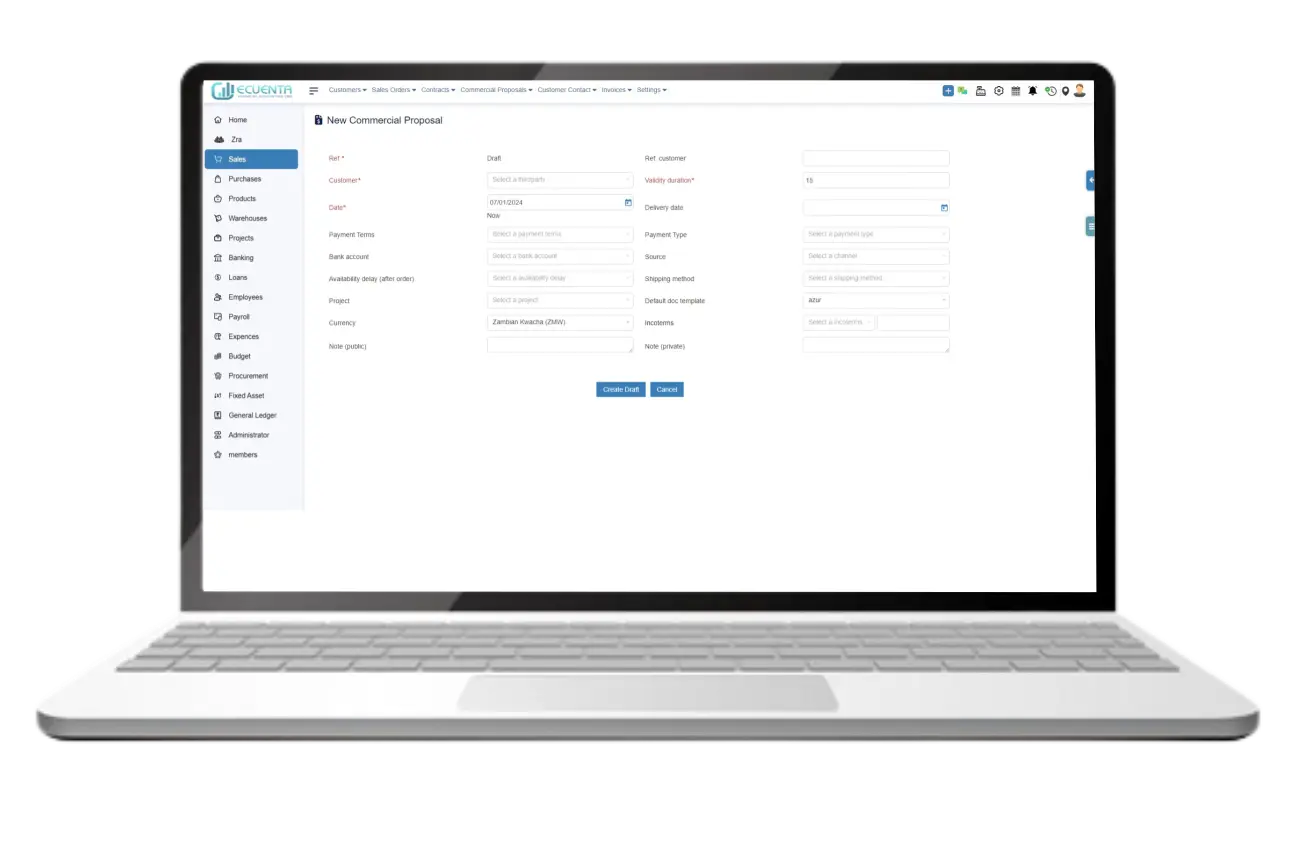
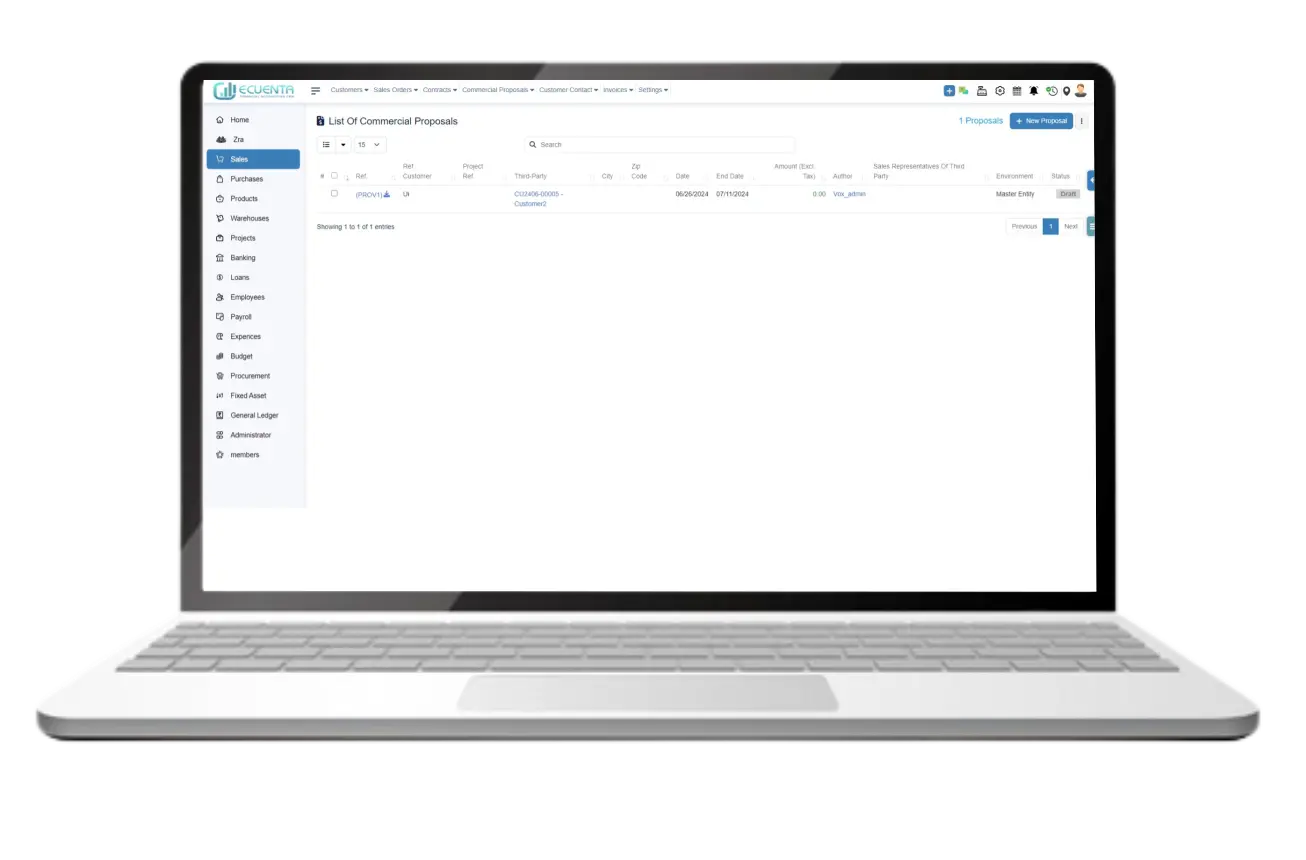
1.1.13 Proposals
Click on Proposal.
You will be directed to view a list of Commercial Proposals.
Using the filter on the top right of the page, you can view the total number of billed, drafts, open, signed, and unsigned proposals.
Click on ,New Proposal you have the form for entering the details for the new proposal to be created.
After filling up the required details, click on Save to add the new proposal to the list of commercial proposals being created.
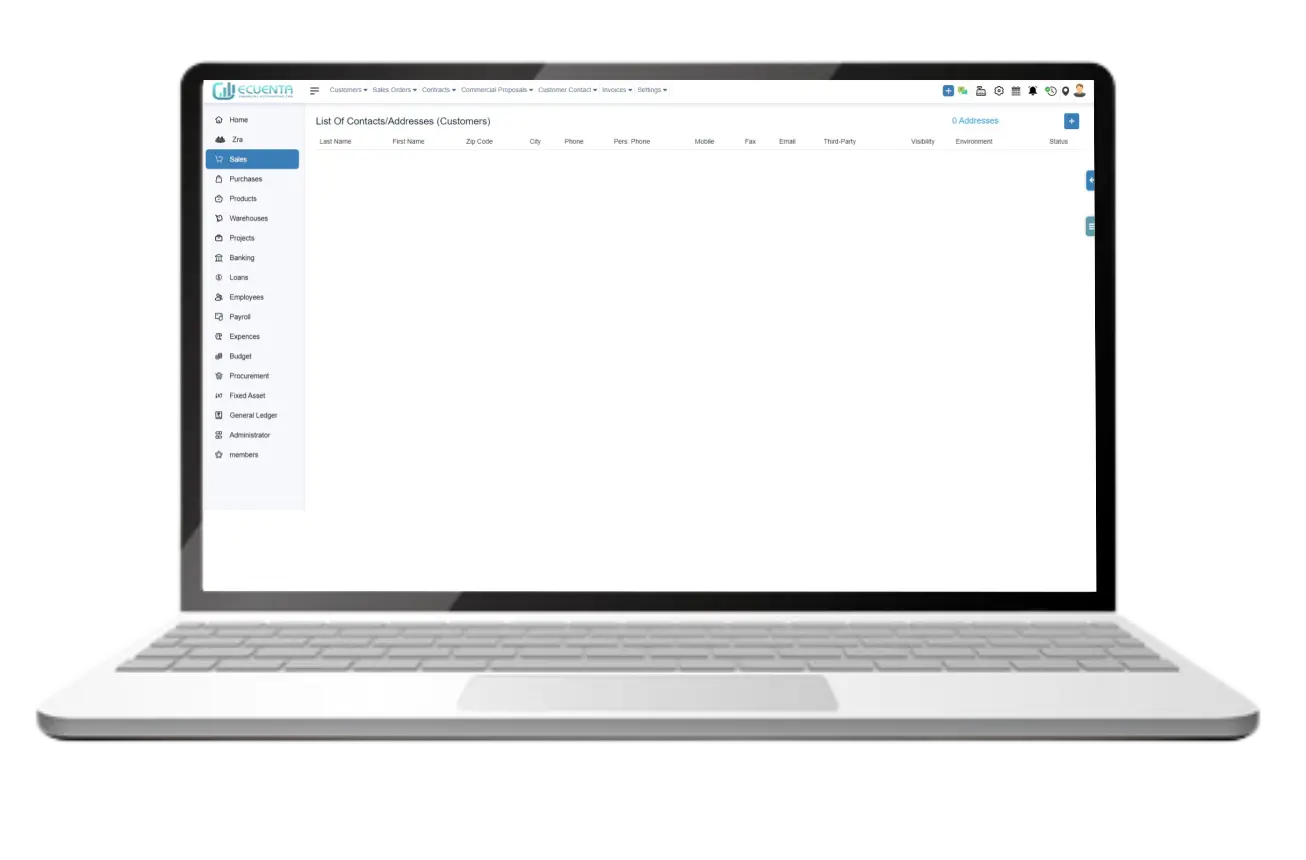
1.1.14 List Of Contacts/Addresses
Click on the list of contacts/addresses.
You will be directed to view the list of customer's contacts/addresses.
Clicking on the customer’s name allows you to view, modify, or delete their information.
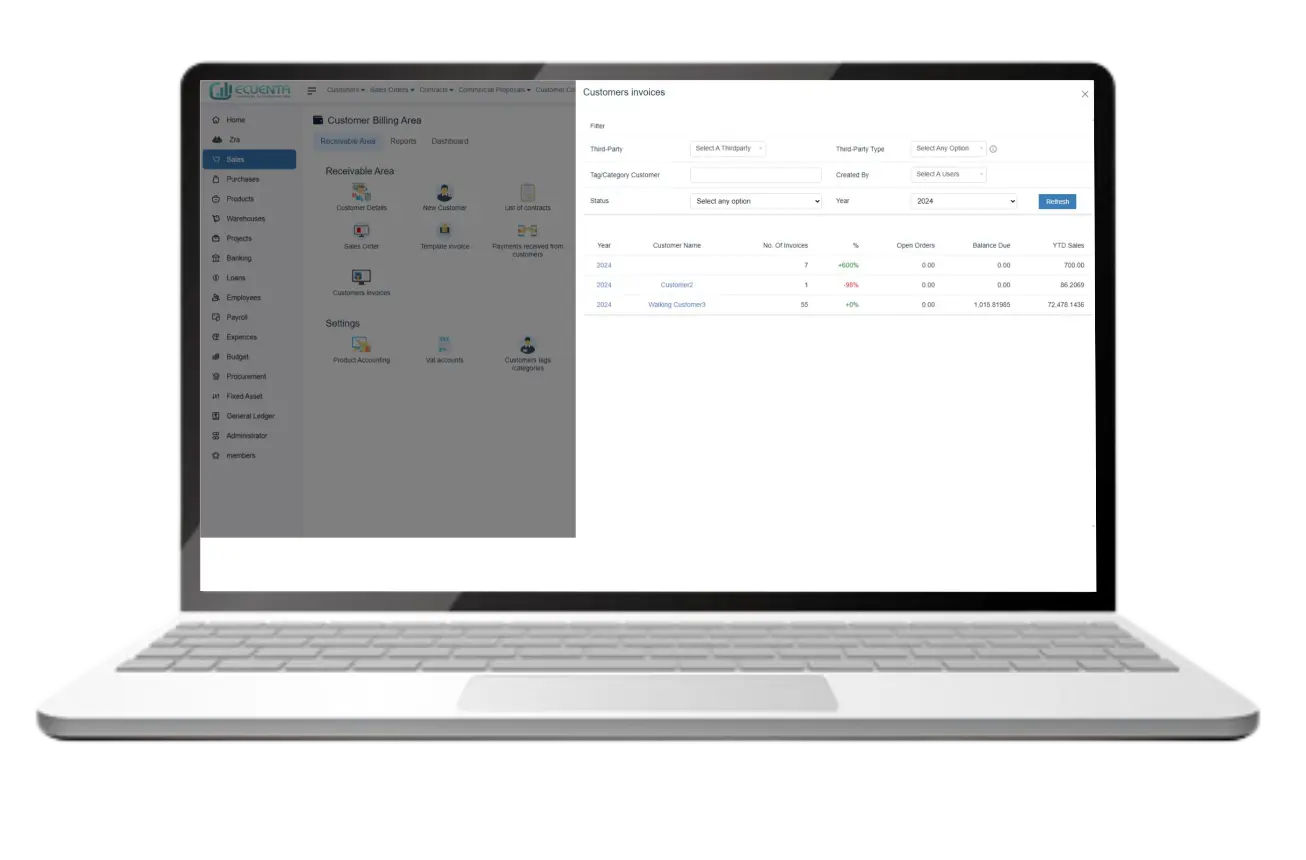
1.1.15 Customers invoices
Click on the list of Customer invoices.
You will be able to view customers' invoices by using filters.
1.2 Settings
Settings allow you to configure settings for the sales module.
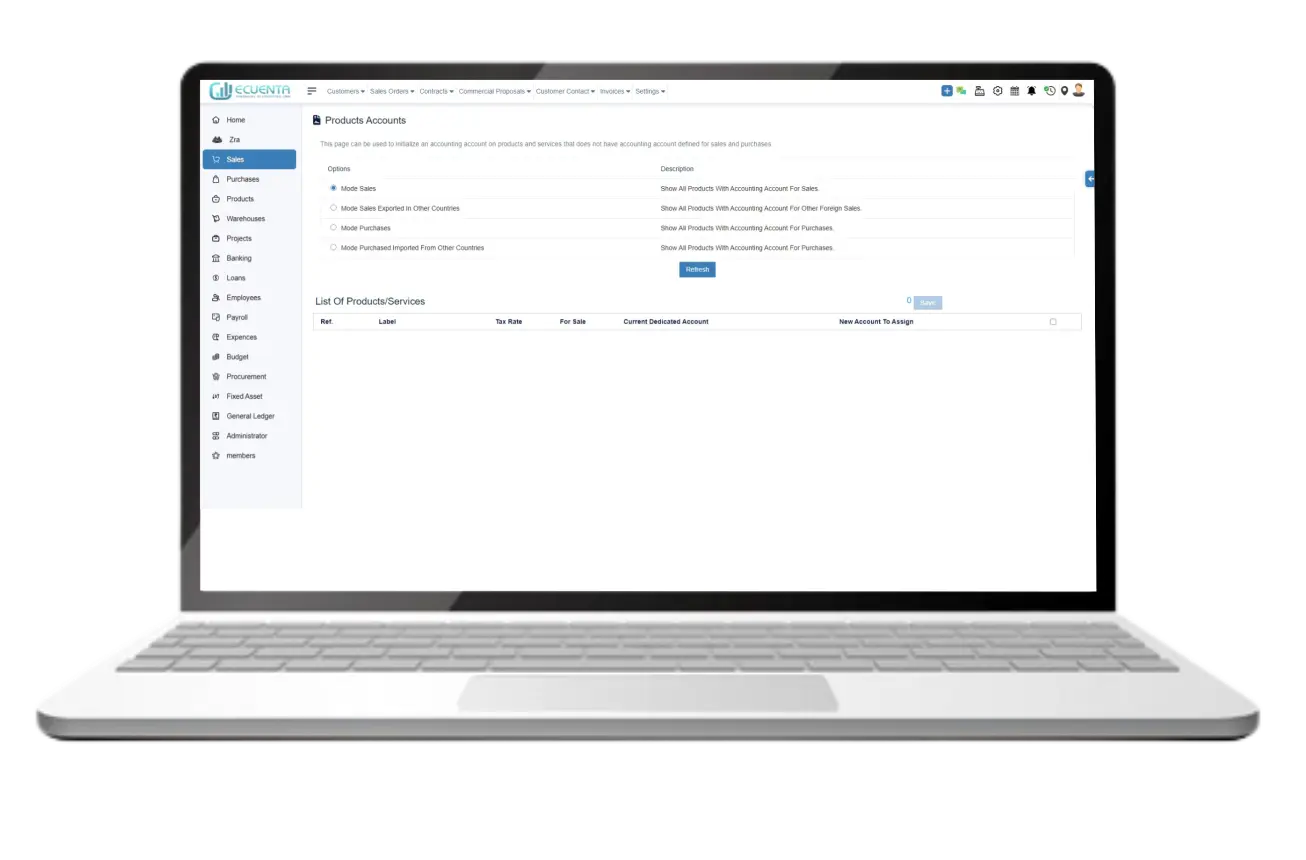
1.2.1 Products Accounts
Click on the product accounts.
By selecting the respective options, you can access the product and service lists for Mode Sales, Mode Sales Exported, Mode Purchases, and Imported Purchases.
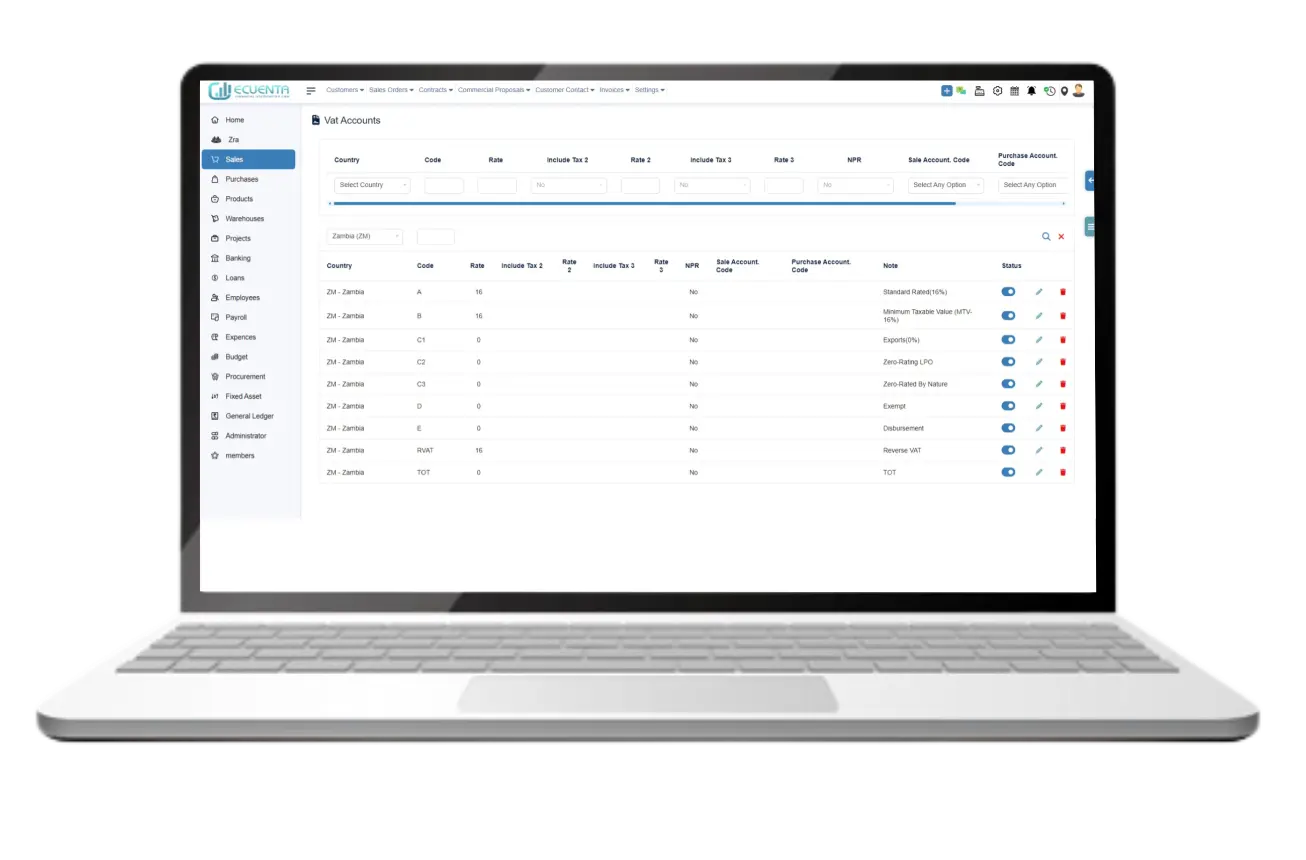
1.2.2 Vat accounts
Click on the Vat accounts.
You will be able to view and manage a complete list of VAT accounts for both sales and purchases.
You can click the Delete icon to remove a VAT account from the list.
You can click the edit icon to modify a VAT account.
At the top of the page, you will find a form to enter details for a new VAT account. Once you have added the details, click on the Add button to proceed.
To view the vat accounts list by country, you can use the filter.
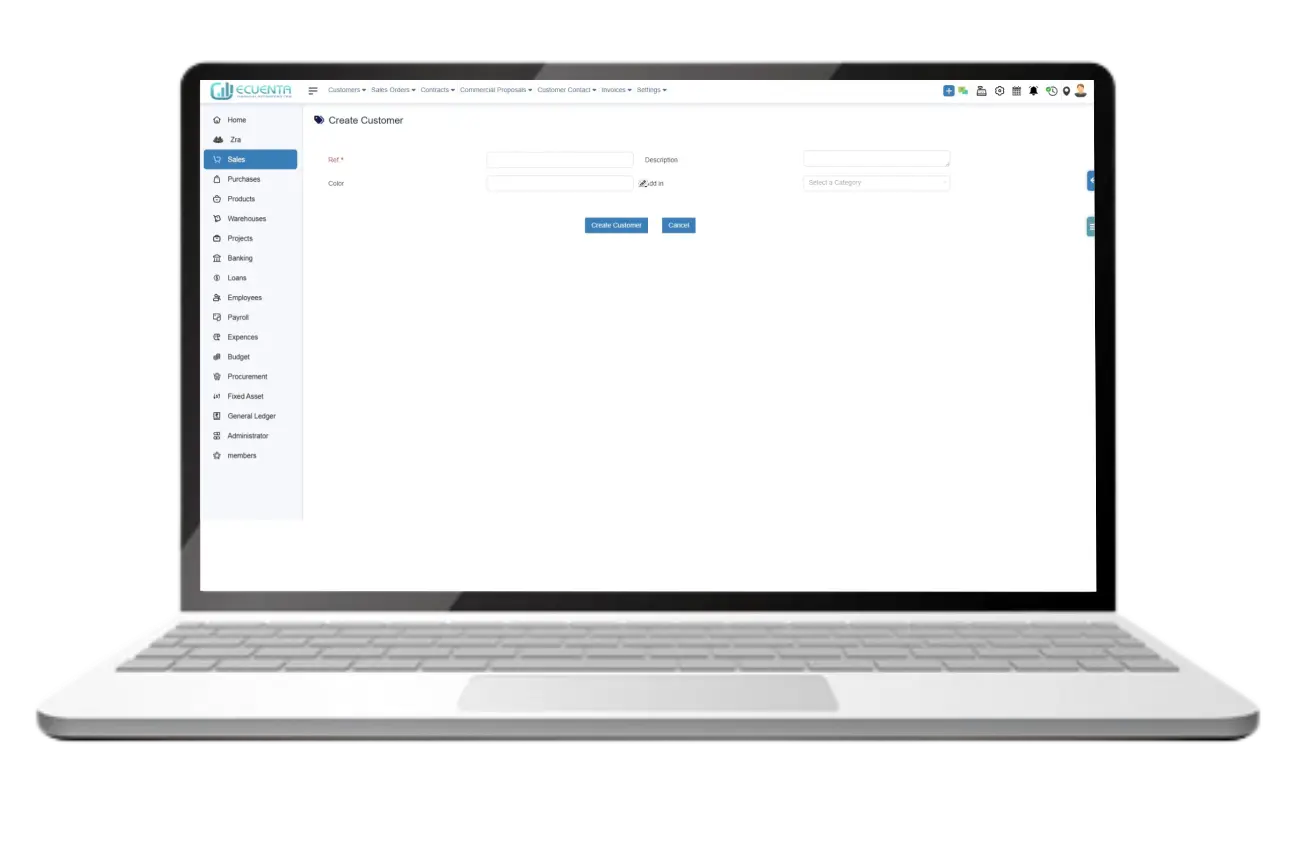
1.2.3 Customers Tags/Categories Area
Click on the customer's tags/categories.
You will be able to view the categorized customers list here.
click on the button to proceed to create and use specialized labels to organize your customers.
You can select a color and category to label your customers. Then click Create Customer to save the details.
1.2.4 Contacts Tags/Categories Area
Click on the contacts tags/categories.
You will be able to view the categorized contact list here.
click on the button to proceed to create and use specialized labels to organize the contacts.
You can select a color and category to label your customers. Then click Create Contact to save the details.
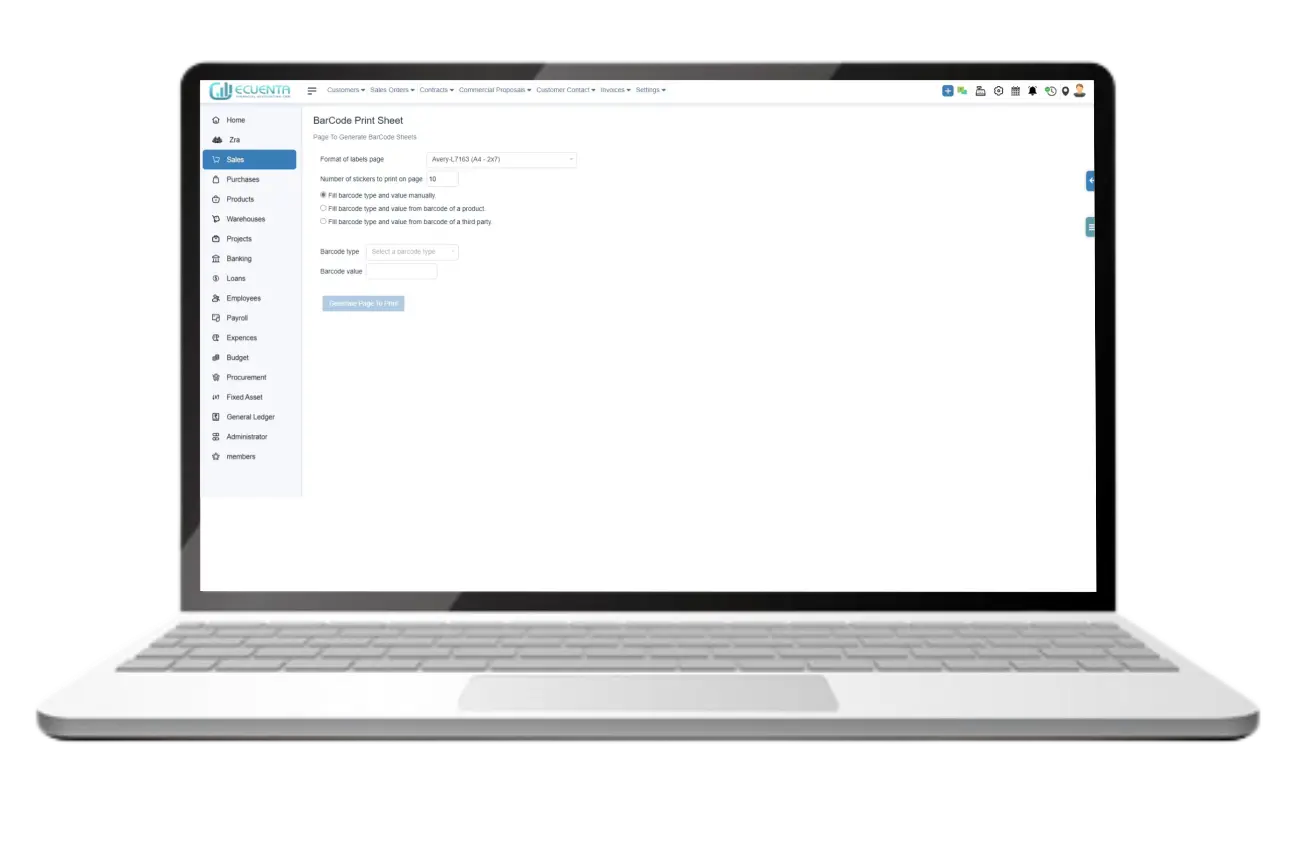
1.2.5 Generate Barcode
Click on generate barcode.
The BarCode Print Sheet feature allows you to generate sheets for printing barcodes, which can be used for product identification.
Choose the label page format.
You can select the number of stickers you want to print on the page.
You have three options for filling in the barcode type and value: manually, from the barcode of a product, or the barcode of a third party. Choose the best method for your needs.
You can choose between two types of barcodes: Code 128 or QR Code.
Enter the barcode value.
Once you have entered all the necessary information, you can print the barcode sheet.