1. Member
1.1. New Member
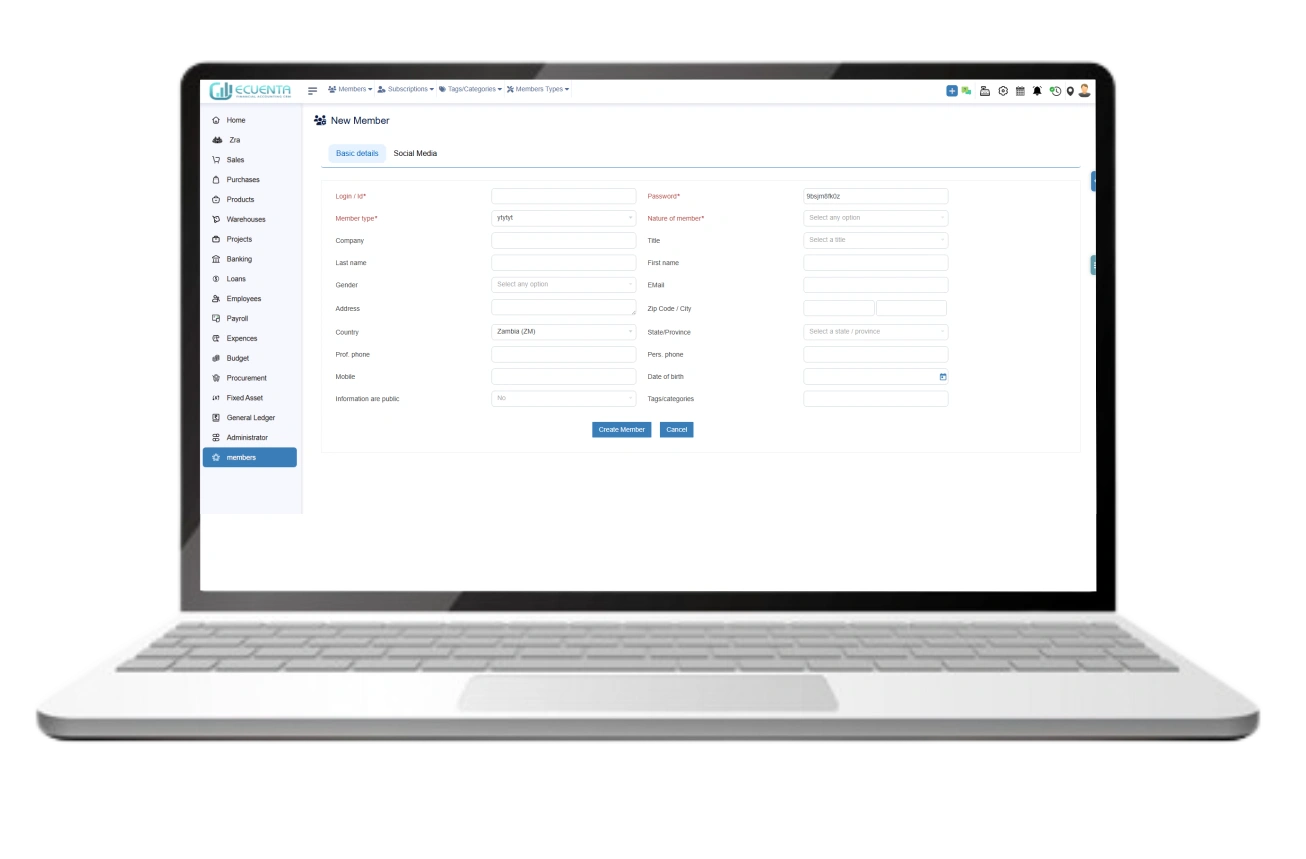
To create a new member, essential details such as login ID, password, member type, nature of membership, company, name, address, contact details, and social media information are required.
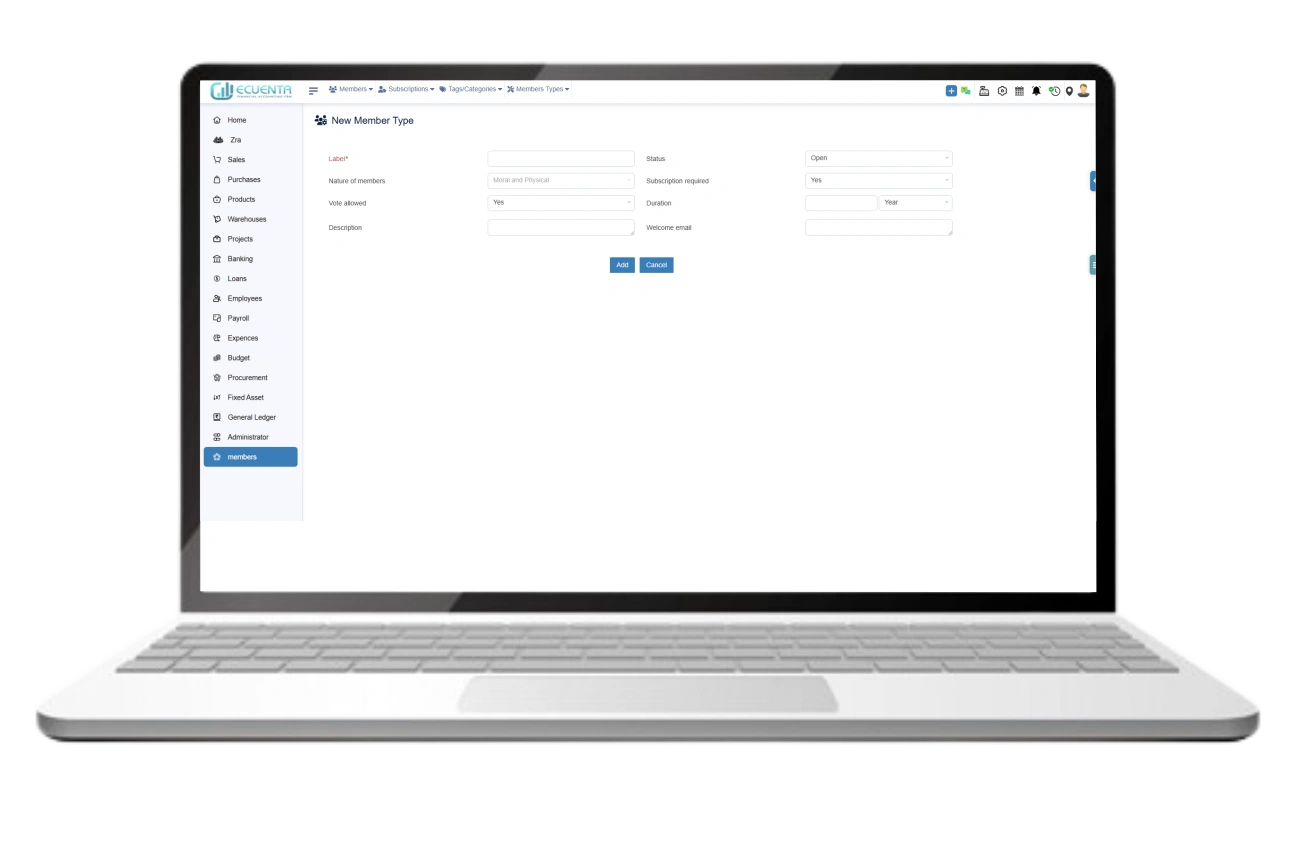
Before creating a new member, it's important to first establish the member type.
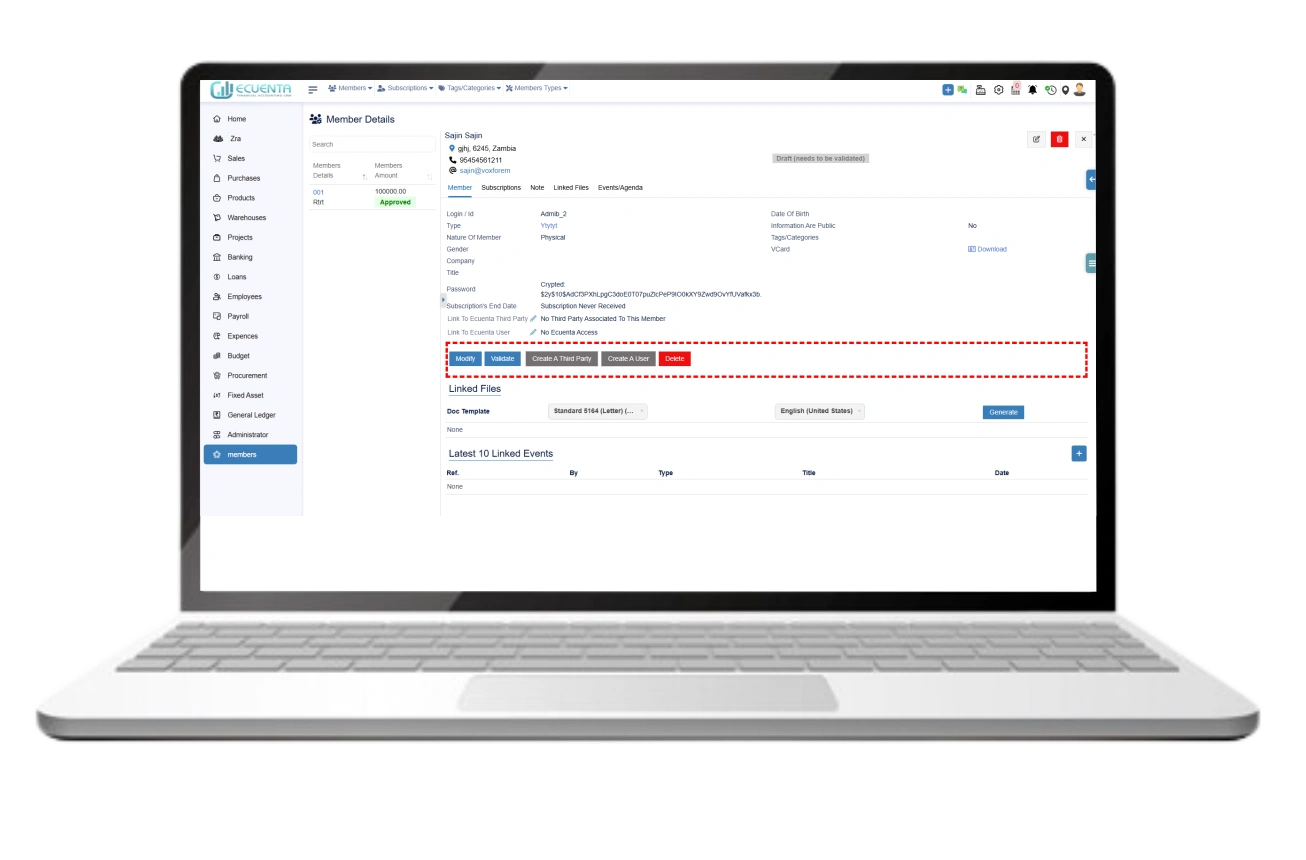
After creating a new member, you will be directed to the member details dashboard. Here, you can review the submitted information and view the encrypted password. Additionally, you can edit and update your details as needed.
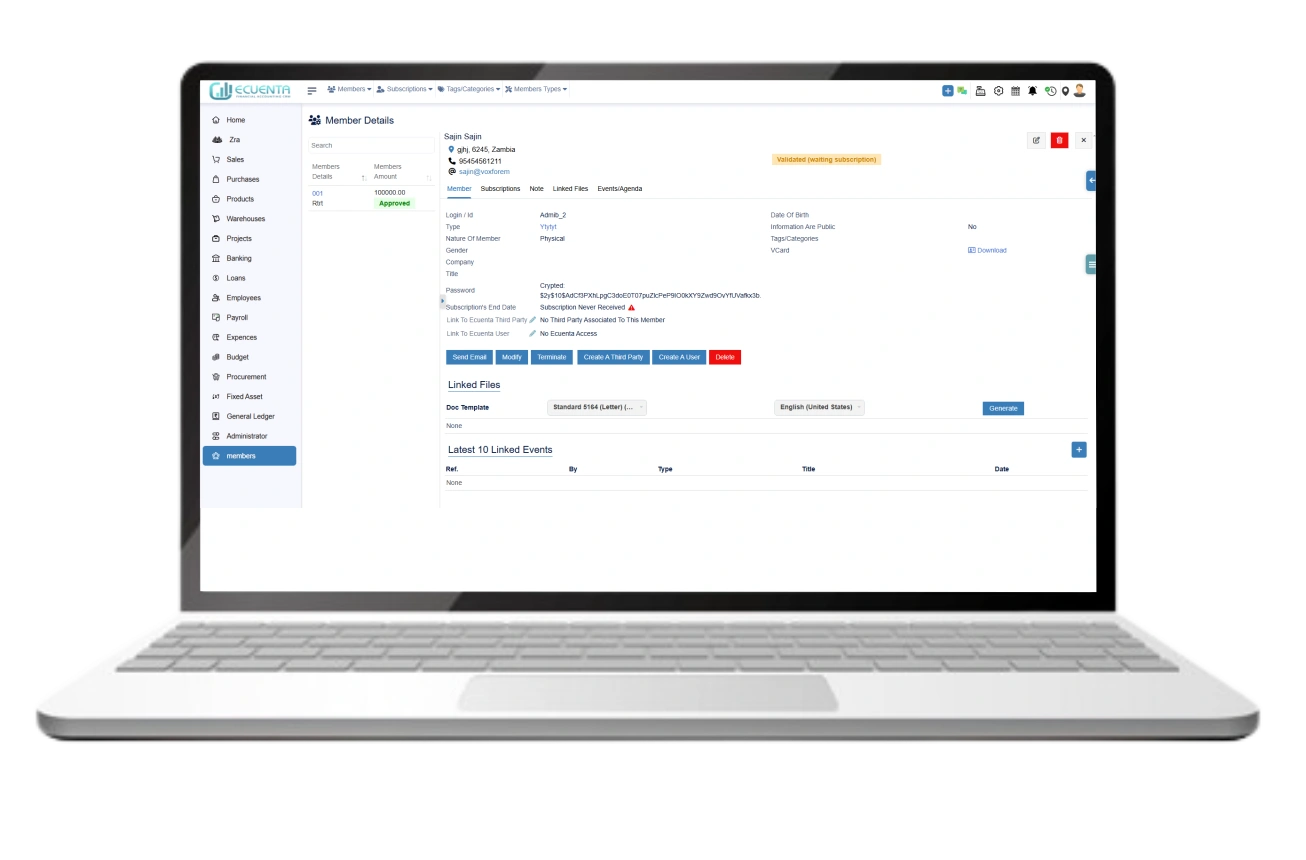
After submitting new member details, it's necessary to validate the provided information. Upon successful validation, you become eligible as a new member.
Additionally, within the member details dashboard, you have the option to designate a third party for the member.
By utilizing the 'create user' option, you can transform a member into a user.
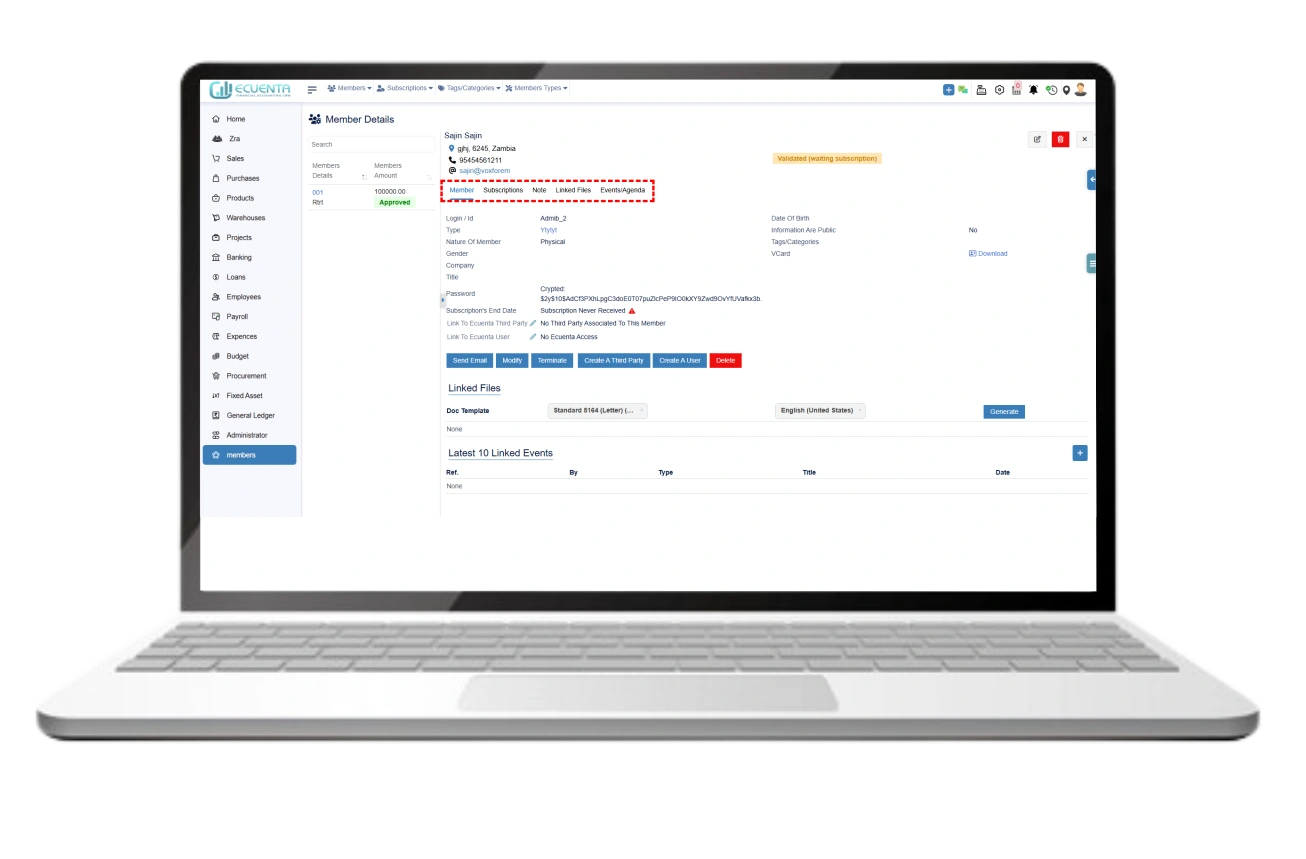
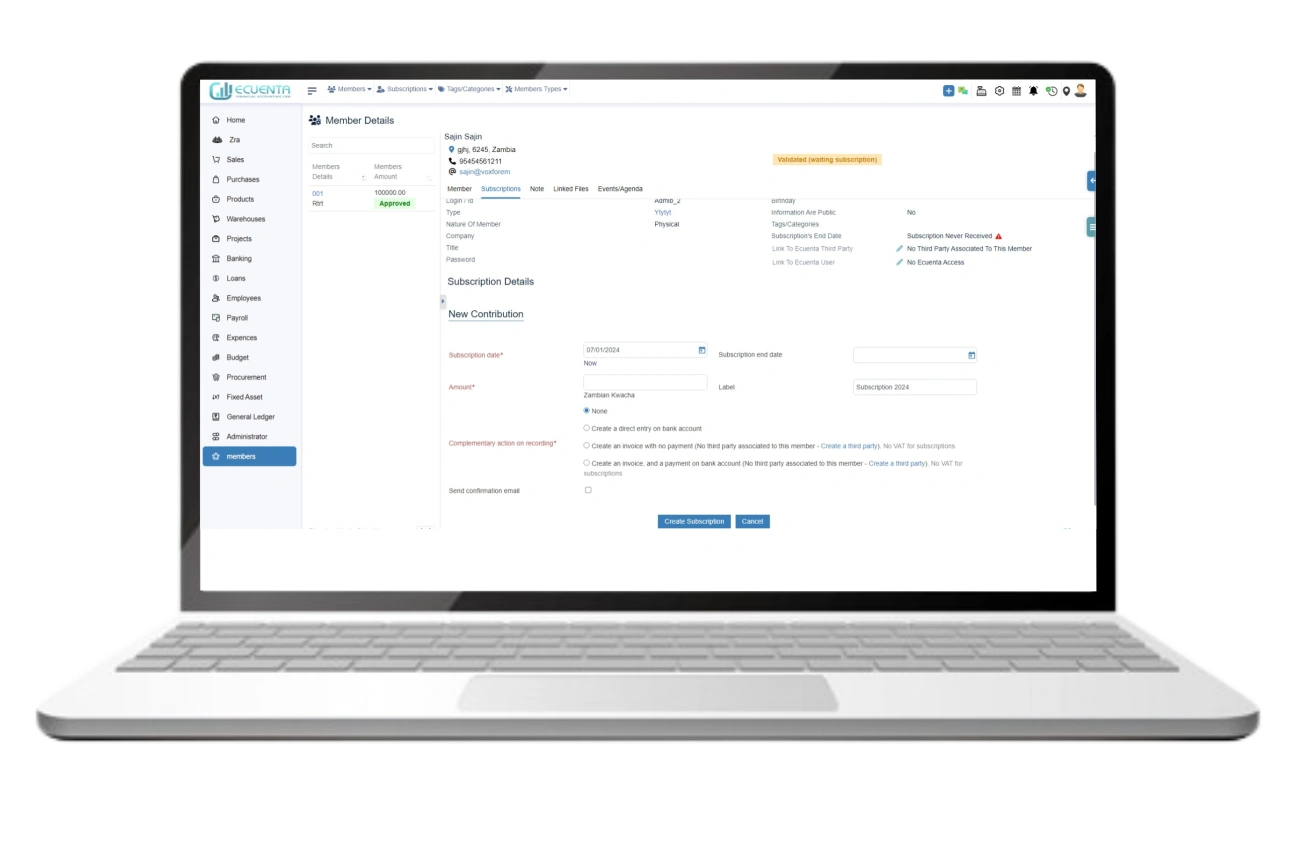
When accessing a member's details, you'll find an accordion table containing their subscriptions, notes, linked files, and events/agenda.
With this functionality, you can seamlessly create subscriptions, add notes, upload files, and update events with dates.
1.2. List of Members
The dashboard for the list of members includes a comprehensive view of the total members, member details, and member statuses.
1.3. Draft Members
After inputting a member's details, the provided information remains in draft status. The draft member’s functionality allows for filtering of member details that are in the draft.
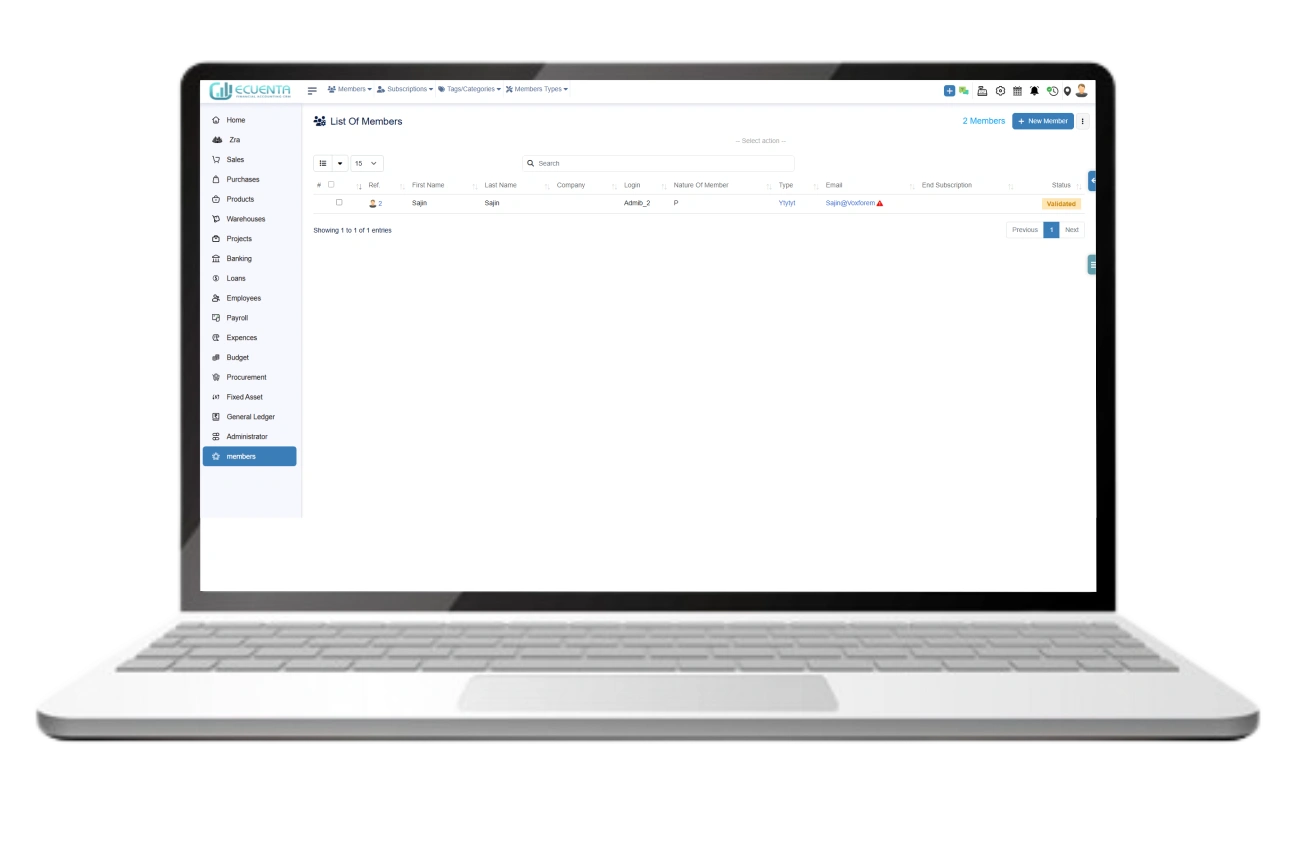
1.4. Validated Members
After submitting a validation request for a member's details, the status may either be approved or terminated. The validated member's functionality displays the status of the member details post-validation.
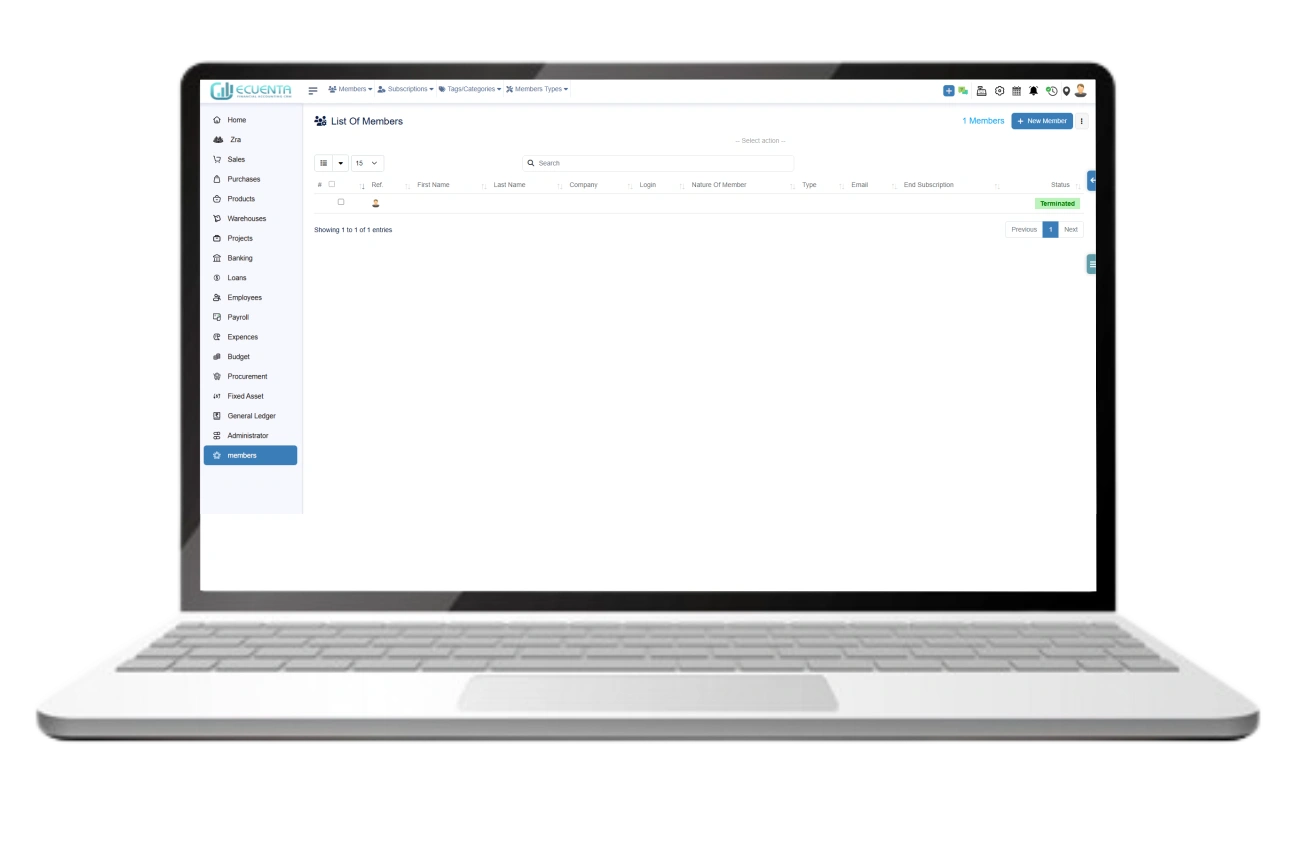
1.5. Terminated Members
Upon completion of validation, terminated members can be filtered using the terminated members functionality.
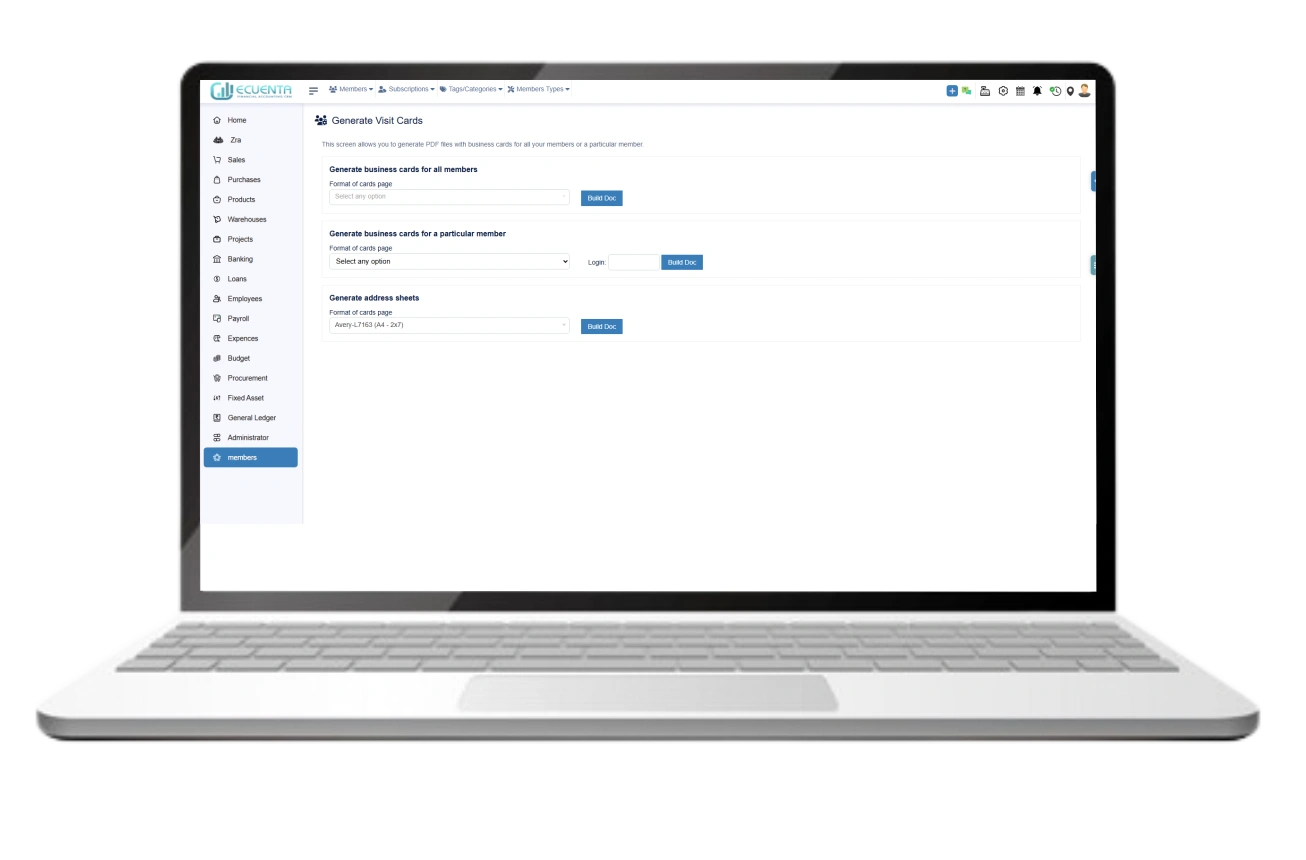
1.6. Members Business Cards
This functionality allows you to generate business cards for all members or a specific member. You can select either all members or a particular member, choose the card page format, and download the cards.