1. Payable Area
The Payable Area is where you can handle and view your vendor invoices or bills and records.
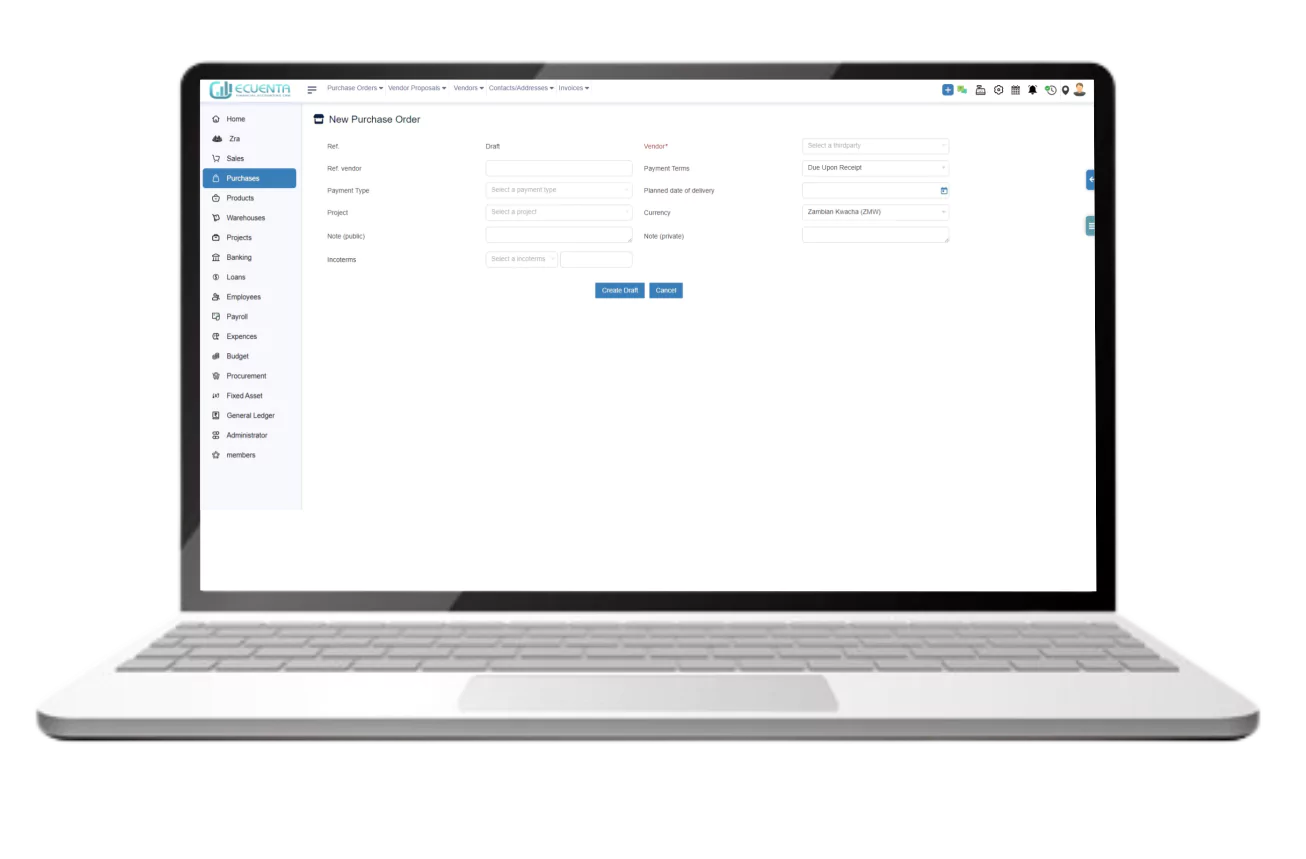
1.1 Create Purchase Order
Click on it to purchase order.
You will be directed to a form to create a new purchase order and select the vendor.
Enter all the necessary details and click Create Draft.
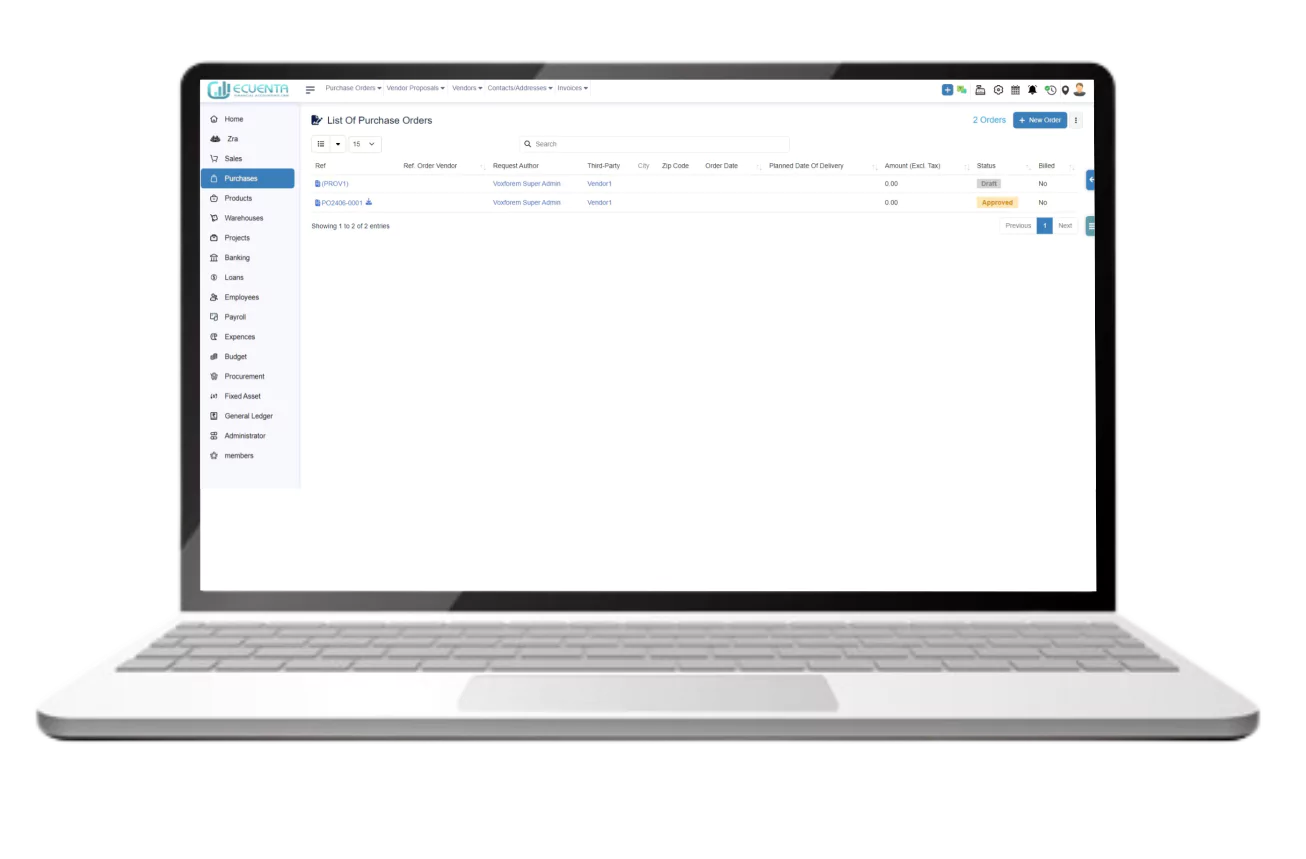
1.2 Purchase Order List
Click on it to purchase orders List.
You will be directed to view a list of purchase orders.
Click the REF and view its details.
If you want to create a new purchase order, then click on New Order.
Enter all the necessary details and click Create Draft.
By using the filter on the top right of the purchase order list page, you can see the total number of ordered, drafts, approved, partially received, refused, and validated orders.
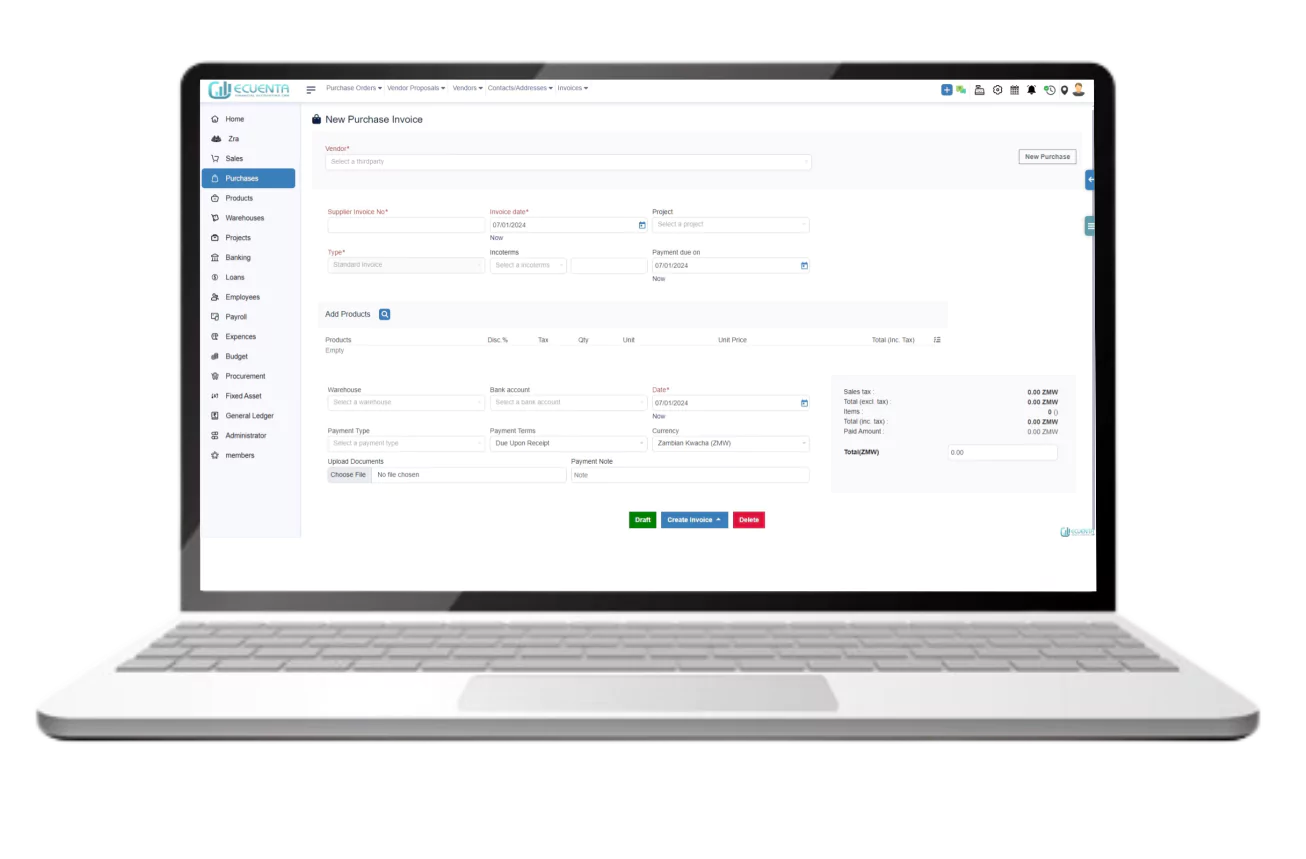
1.3 Create Purchase Invoice
Go to purchase invoice.
You will be directed to the new purchase invoice form.
Select the Vendor Name and add other details.
You can add a new product by clicking on the " Add Products " button and filling out the new product form.
Choose the right invoice option from "send", "cash", or "card" by clicking "Create Invoice".
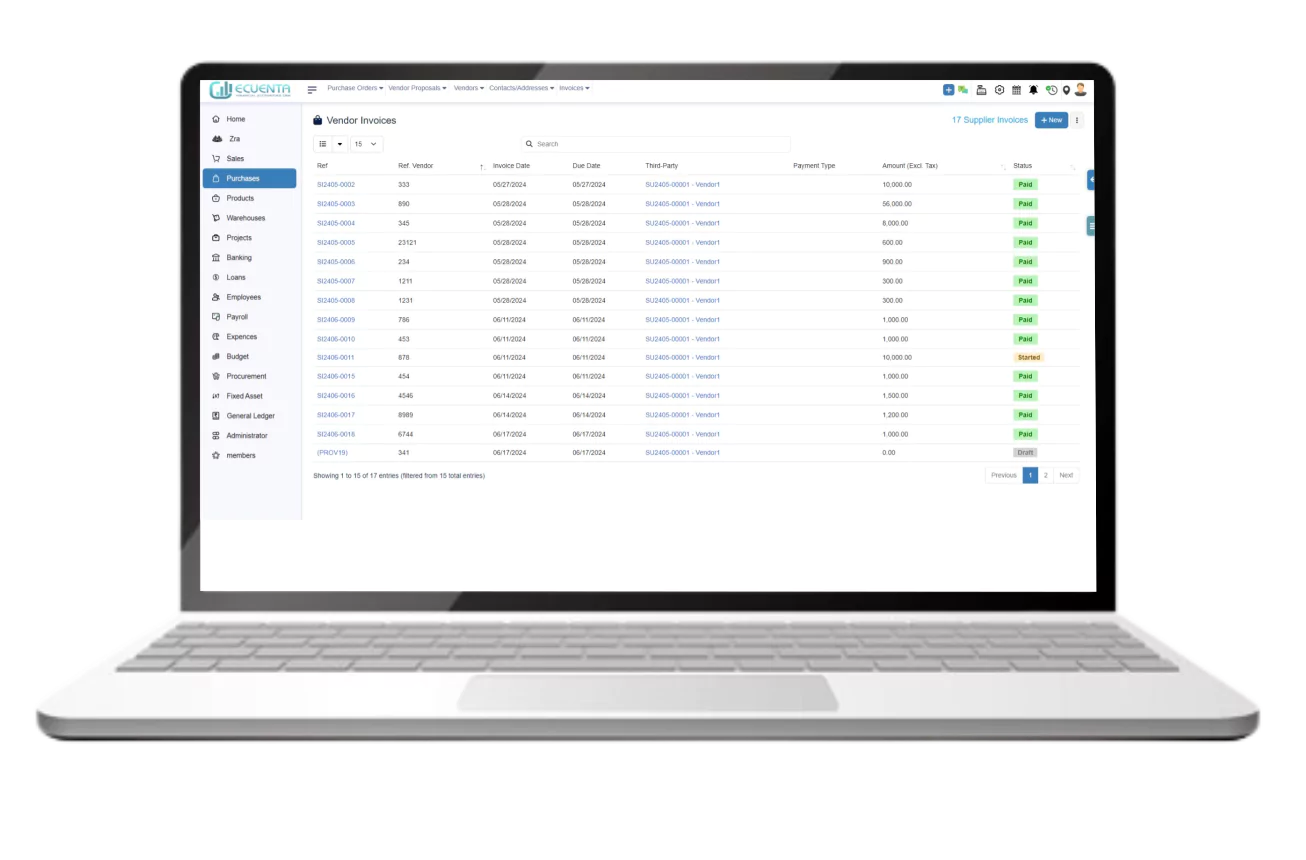
1.4 Purchase Invoice List
Click on it to purchase invoice List.
In purchase Invoice list allows you to easily view the list of vendors' invoices.
Click the REF vendor and view their corresponding details.
If you want to create a new purchase invoice list, then click on +New
You can add a new product by clicking on the " Add Products " button and filling out the new product form.
Choose the right invoice option from "send", "cash", or "card" by clicking "Create Invoice".
By using the filter on the top right of the purchase order list page, you can see the total number of drafts, paid, and unpaid.
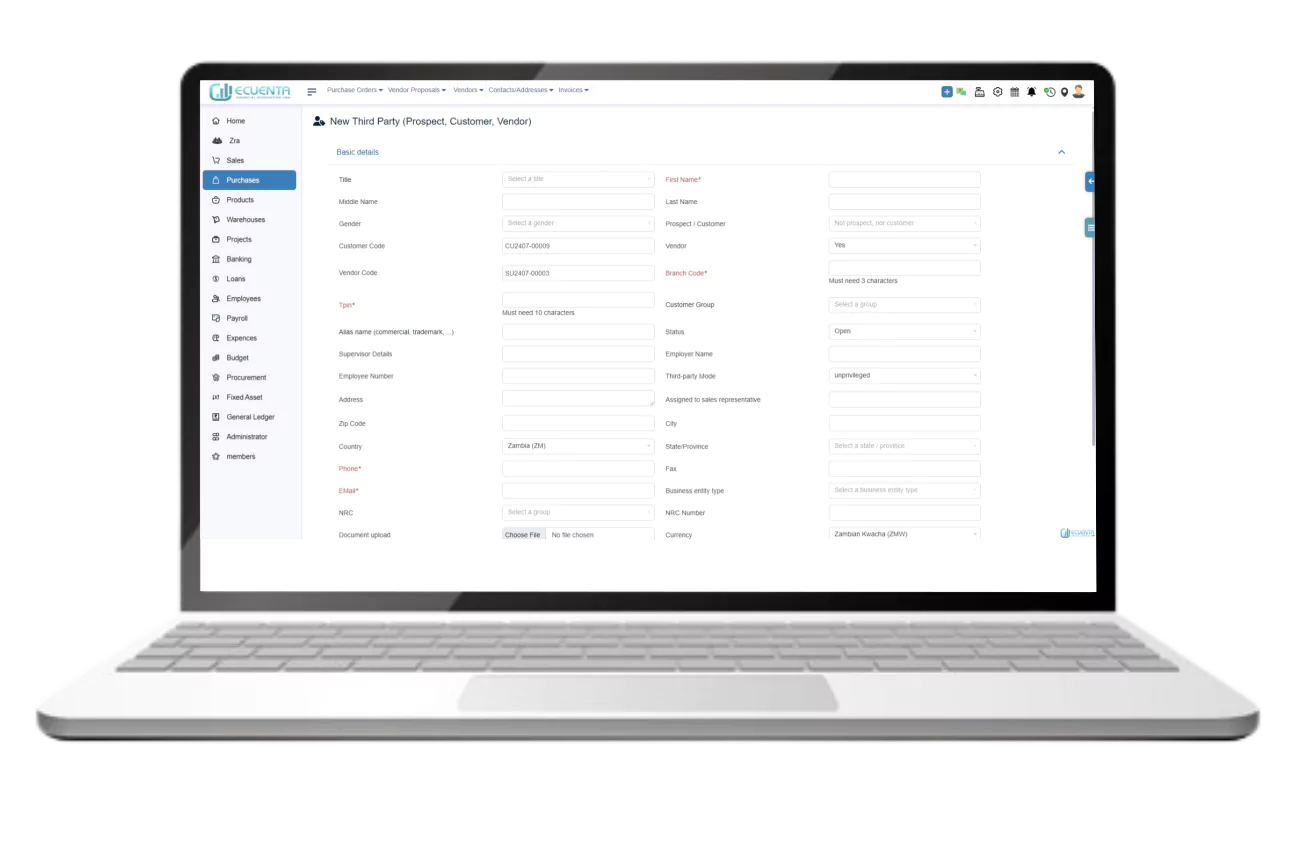
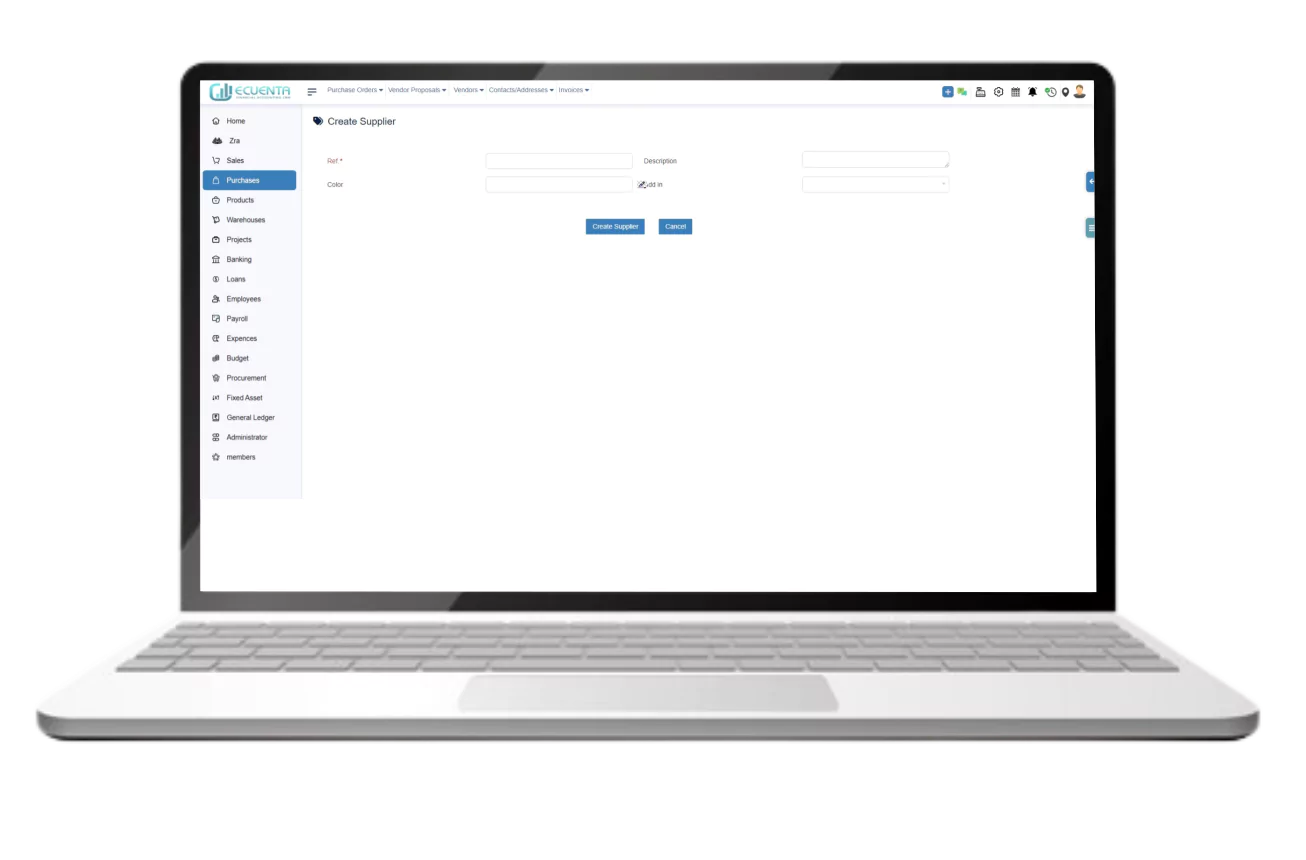
1.5 Create Vendor
Click on it to open the Create vendor
You can add a new vendor by filling out the Basic Details, the Professional Details, and the Social Media section.
Click on create third party to save the vendor details.
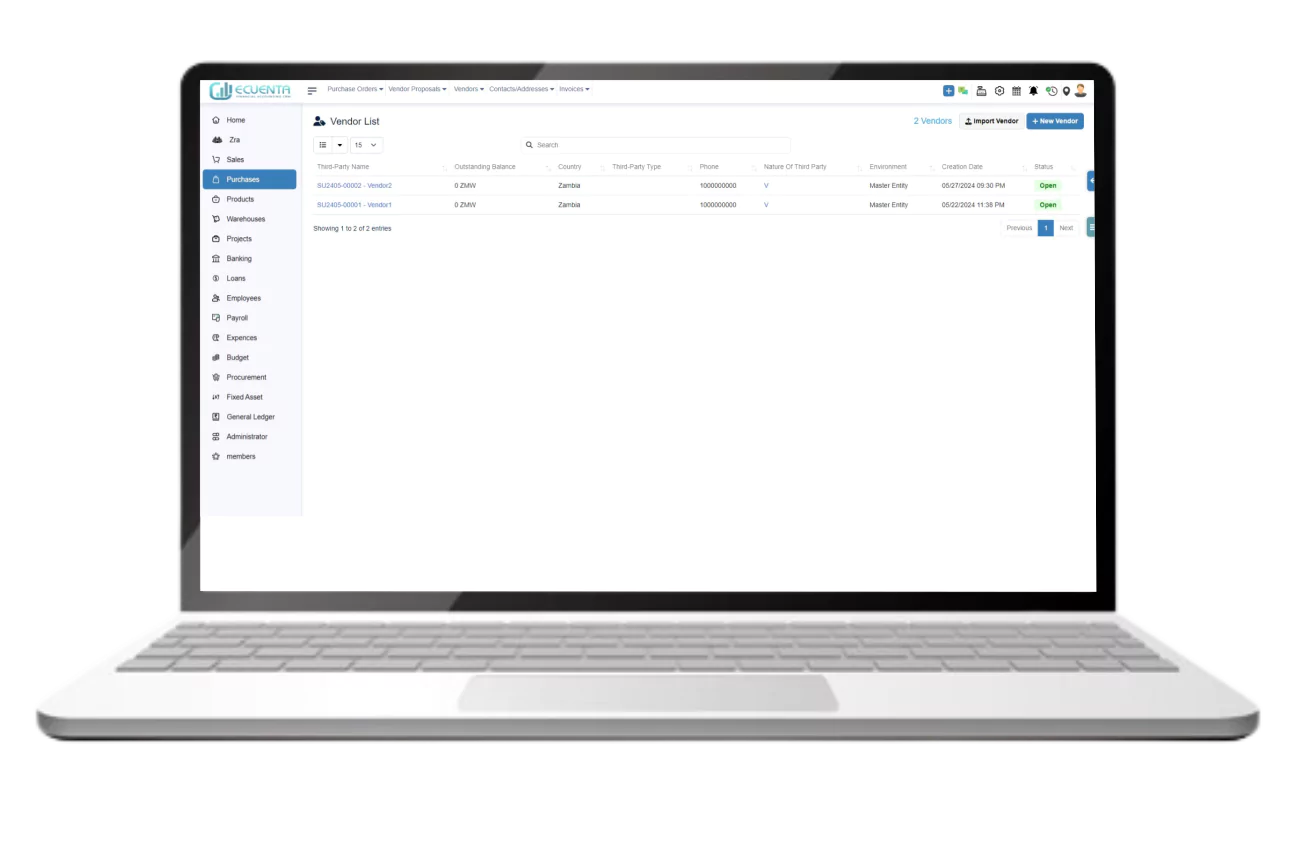
1.6 Vendor List
Click on the List of Contracts option.
The Vendor List page displays all the vendors that you have in your system.
Select Import Vendors Import Vendor to import vendor data into the vendor list, you can use a CSV or Excel file. You'll need to prepare your spreadsheet and then initiate and complete the import process.
Click on import file.
When you click on the right top of the 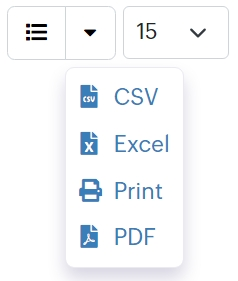 icon, here you can download the list of all payments in CSV, PDF, and Excel formats.
You can add a new vendor by filling out the Basic Details, the Professional Details, and the Social Media section.
Click on third party to create the vendor.
1.7 List Invoices
Click on it to List invoice.
In Invoice list allows you to easily view the list of vendors' invoices.
Click the REF vendor and view their corresponding details.
If you want to create a new invoice list, then click on New
You can add a new product by clicking on the " Add Products " button and filling out the new product form.
Choose the right invoice option from "send", "cash", or "card" by clicking "Create Invoice".
By using the filteron the top right of the purchase order list page, you can see the total number of drafts, paid, and unpaid.
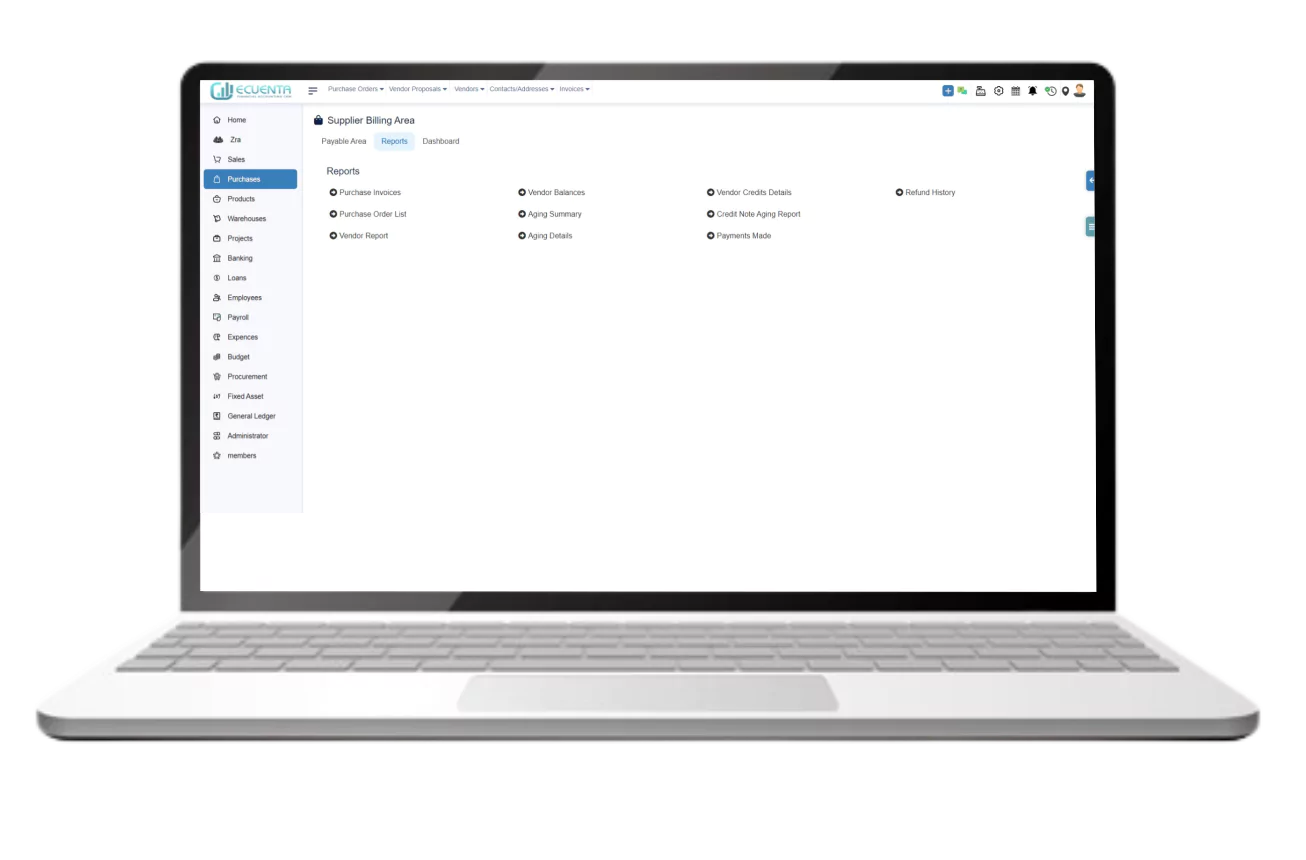
1.8 Aging Summary
Click on it to Aging summary.
The Vendor Aging Report displays a summary of outstanding invoices for each vendor based on the selected date range.
Click on View Report View Report .
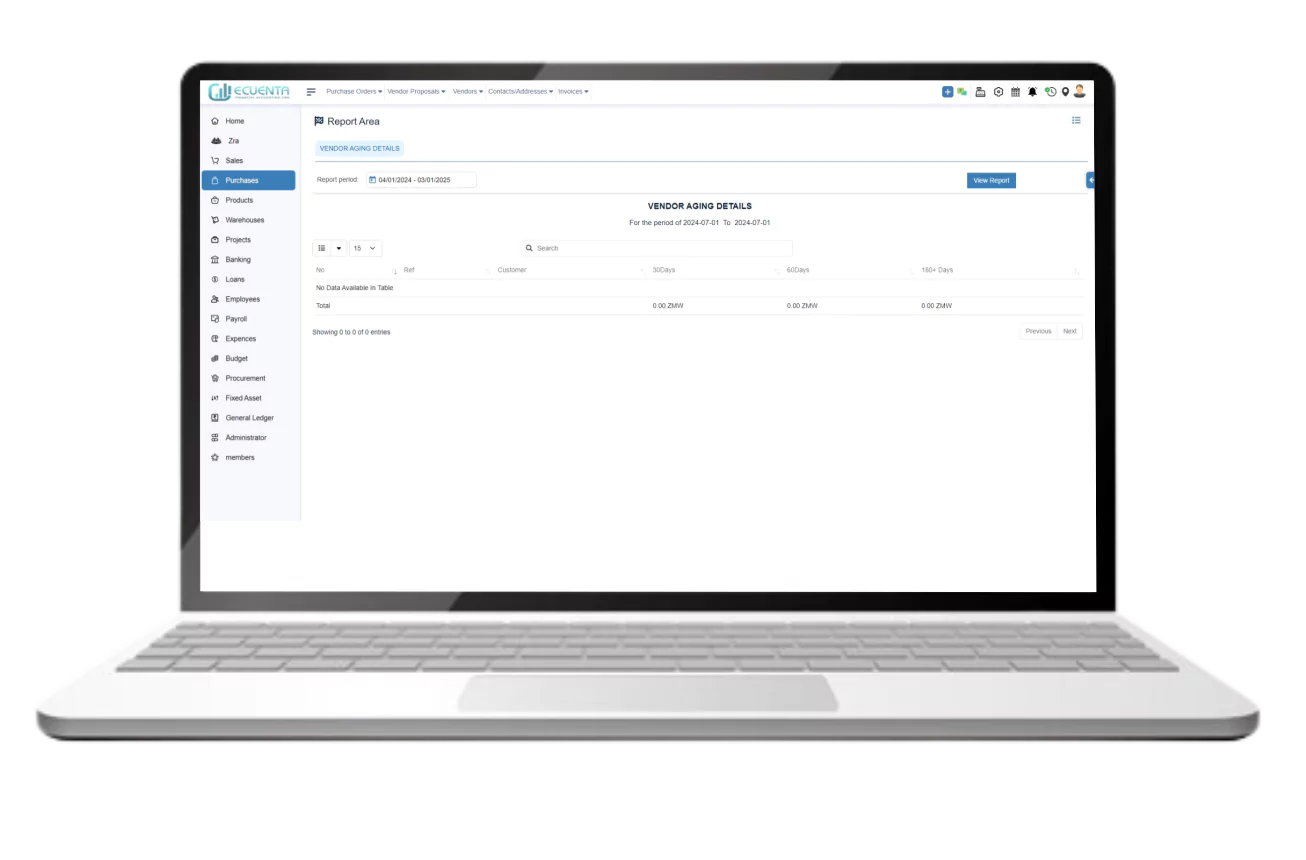
1.9 Aging Details
Click on it to Aging summary.
To generate the report, select the period for which you want to view the vendor aging details. Then click view report View Report.
The report will display all the vendor accounts that have outstanding payments due.
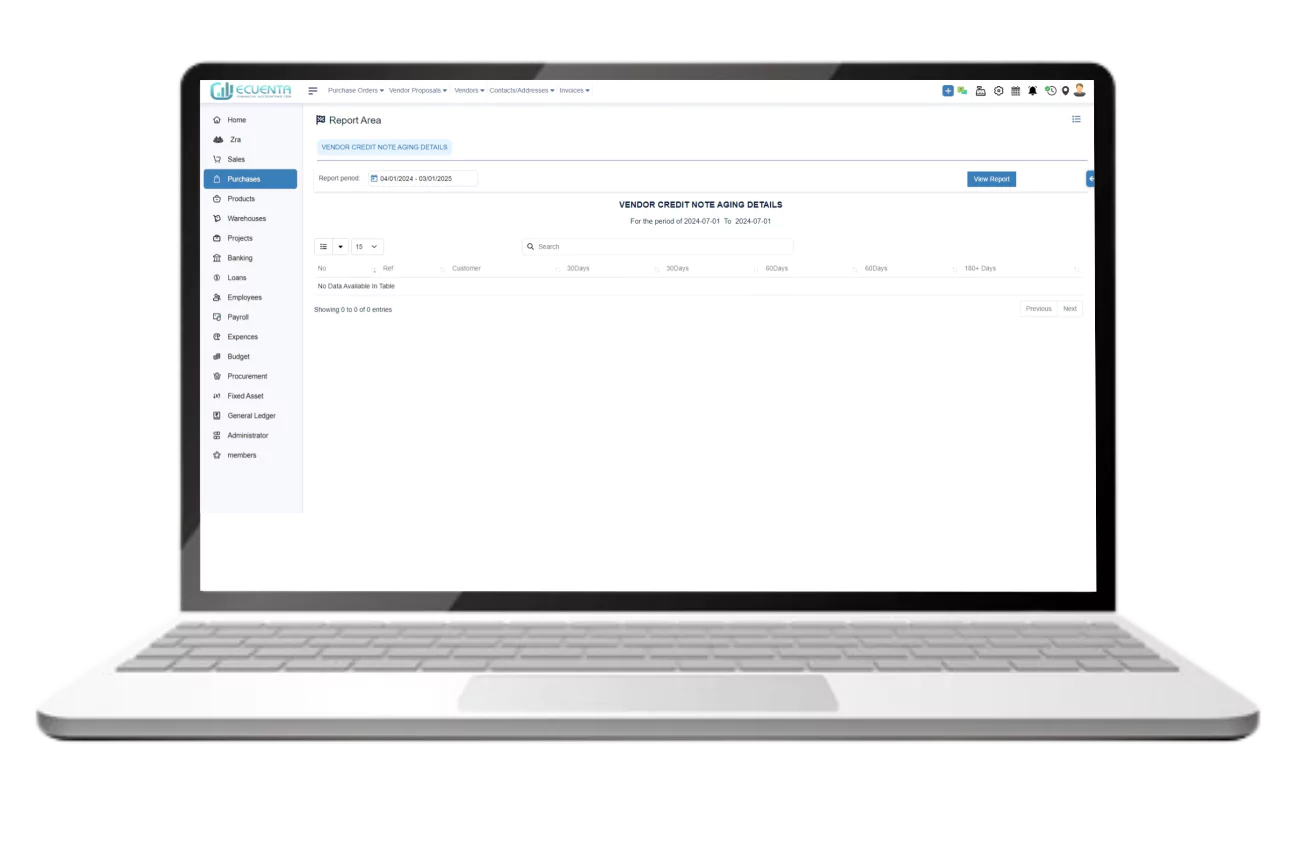
1.10 Credit Note Aging Report
Click on it to Credit Note Aging Report.
To generate the report, select the period for which you want to view the vendor aging details. Then click view reportView Report.
Report helps you keep track of the outstanding invoices and lets you know how long they have been overdue.