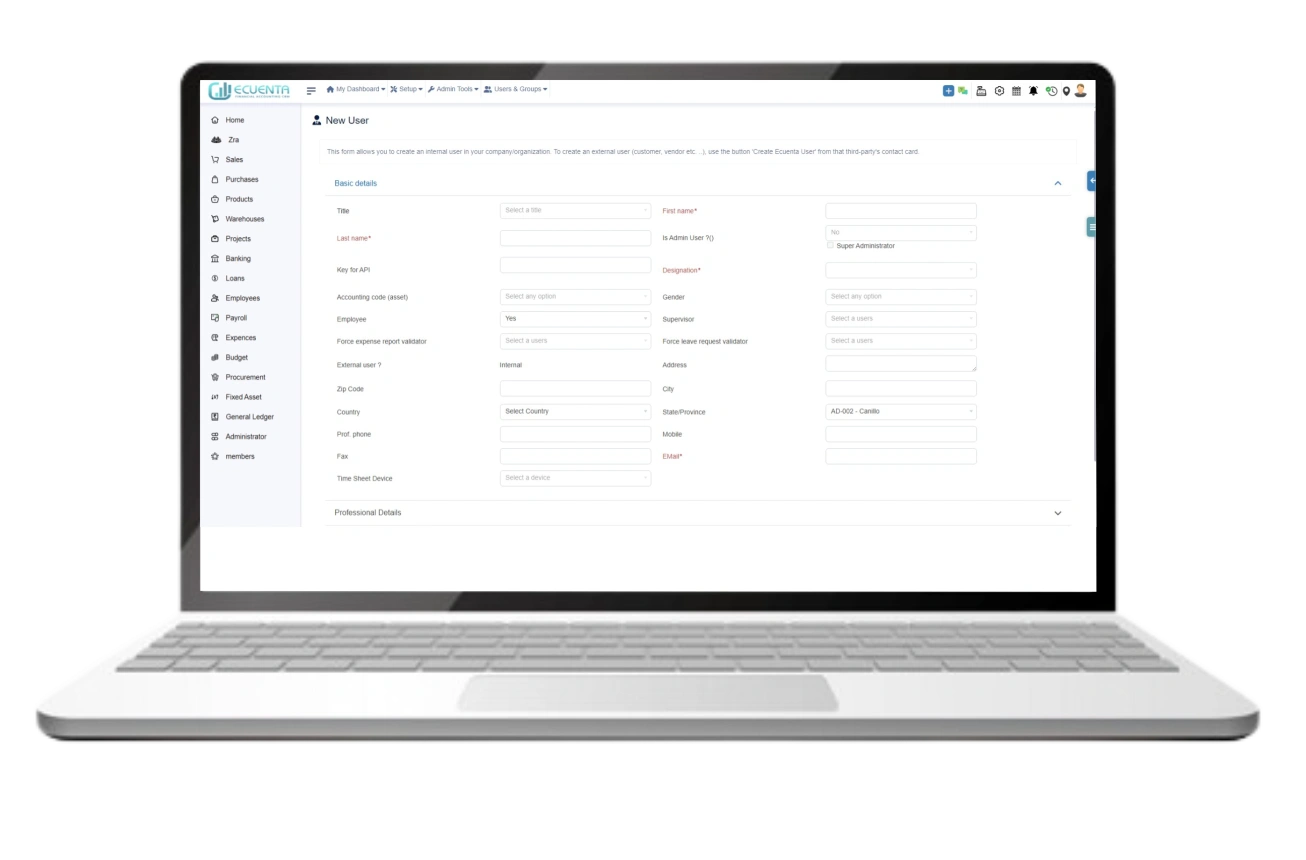
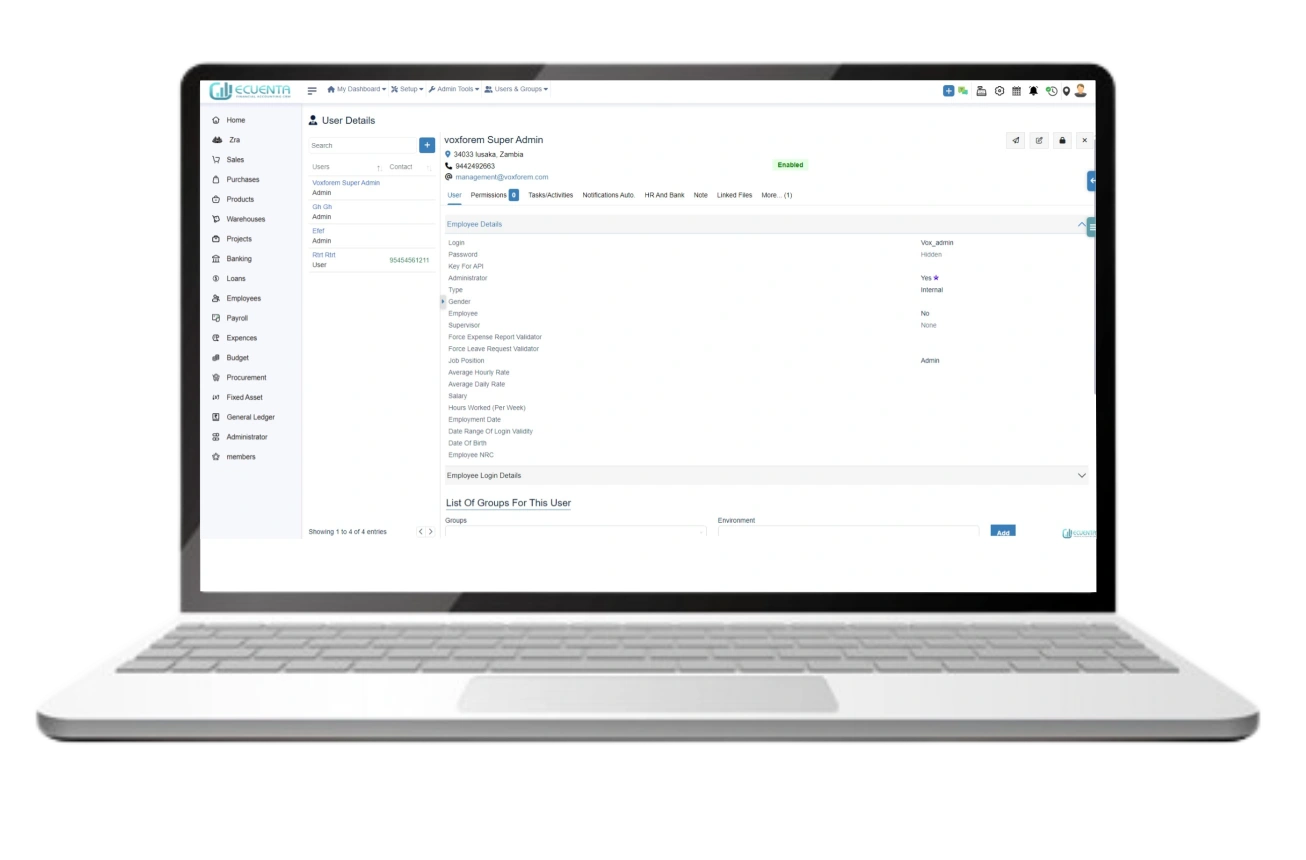
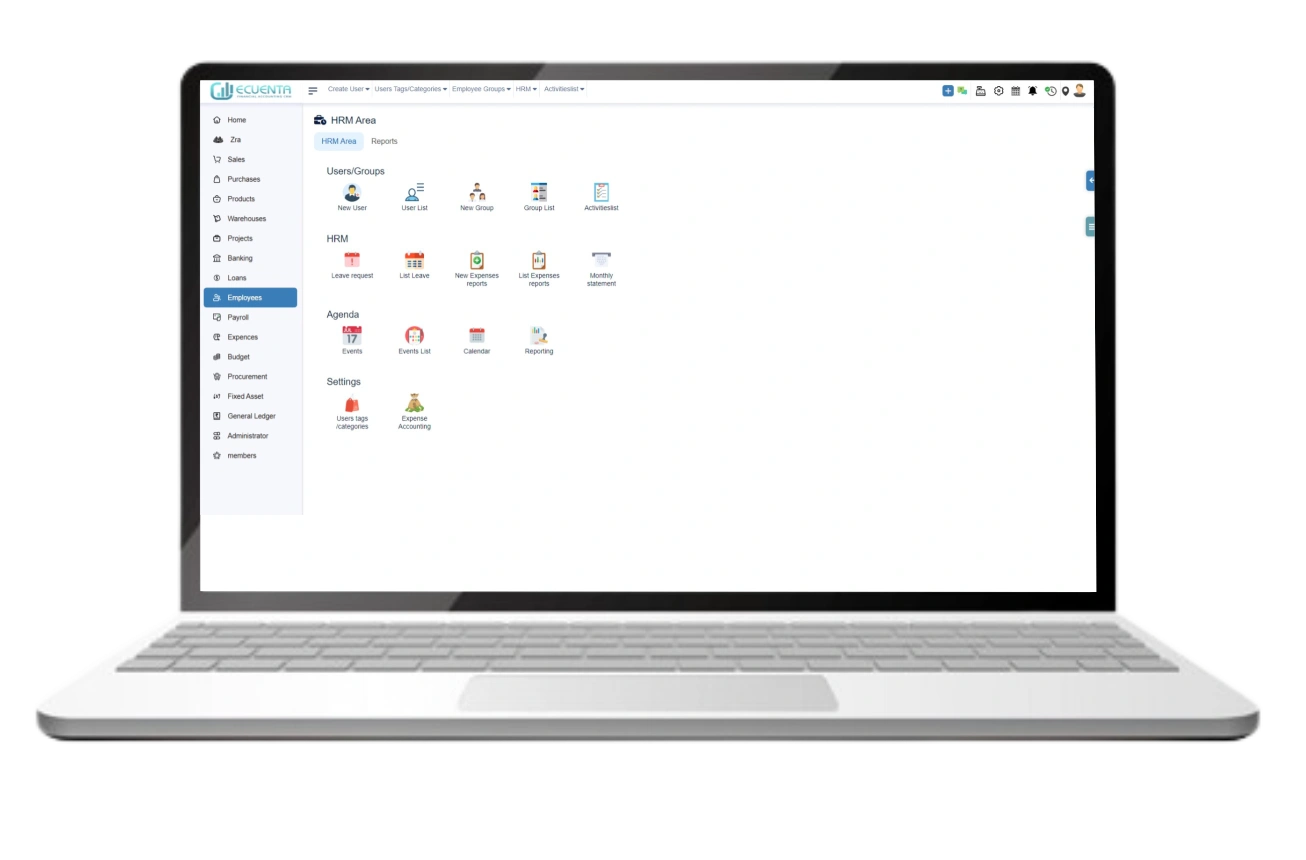
4. HRM
4.1. HRM Area
The HRM area encompasses functionalities similar to those found in user list creation, user list management, the creation of new groups, and the management of existing groups.
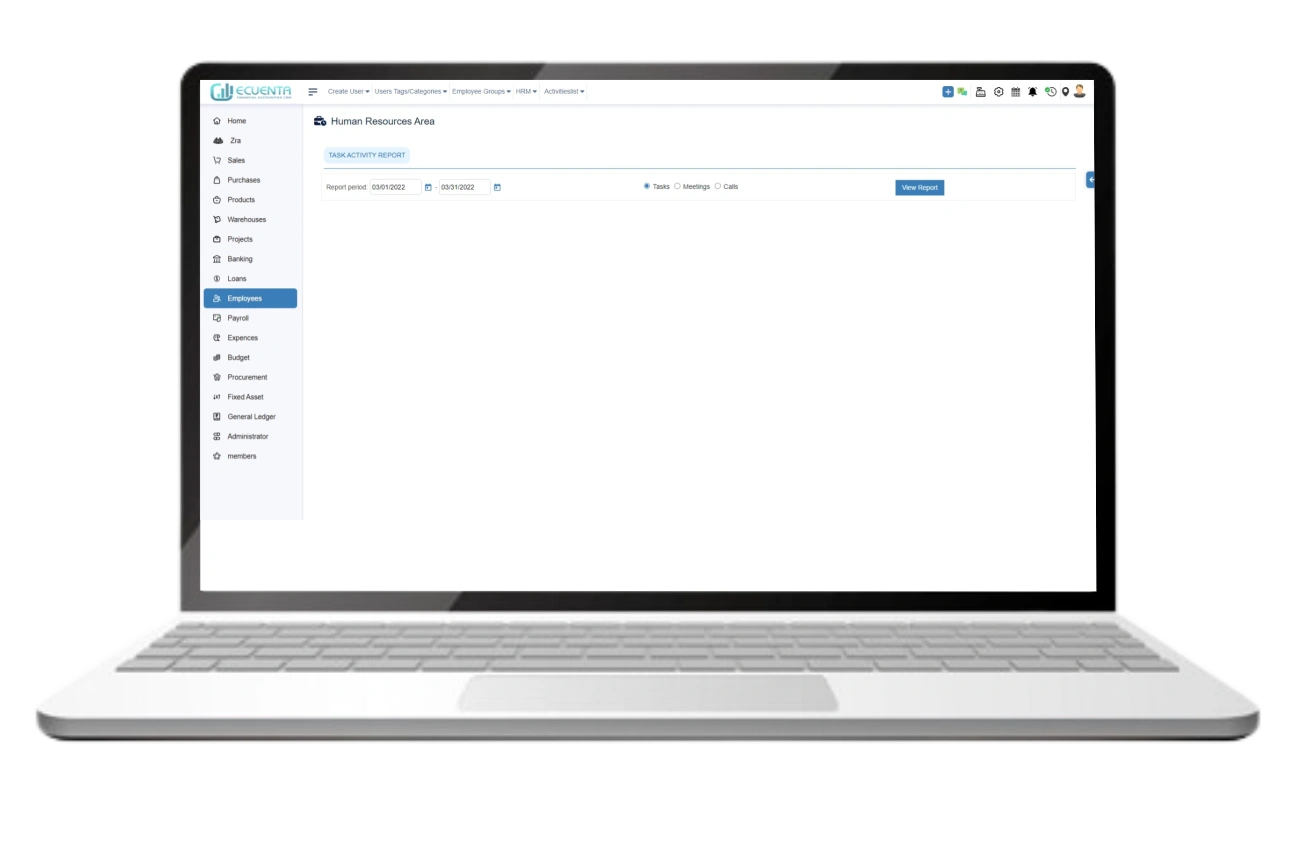
The active list from the HRM displays the task activity report, allowing you to assign tasks, meetings, and calls to employees.
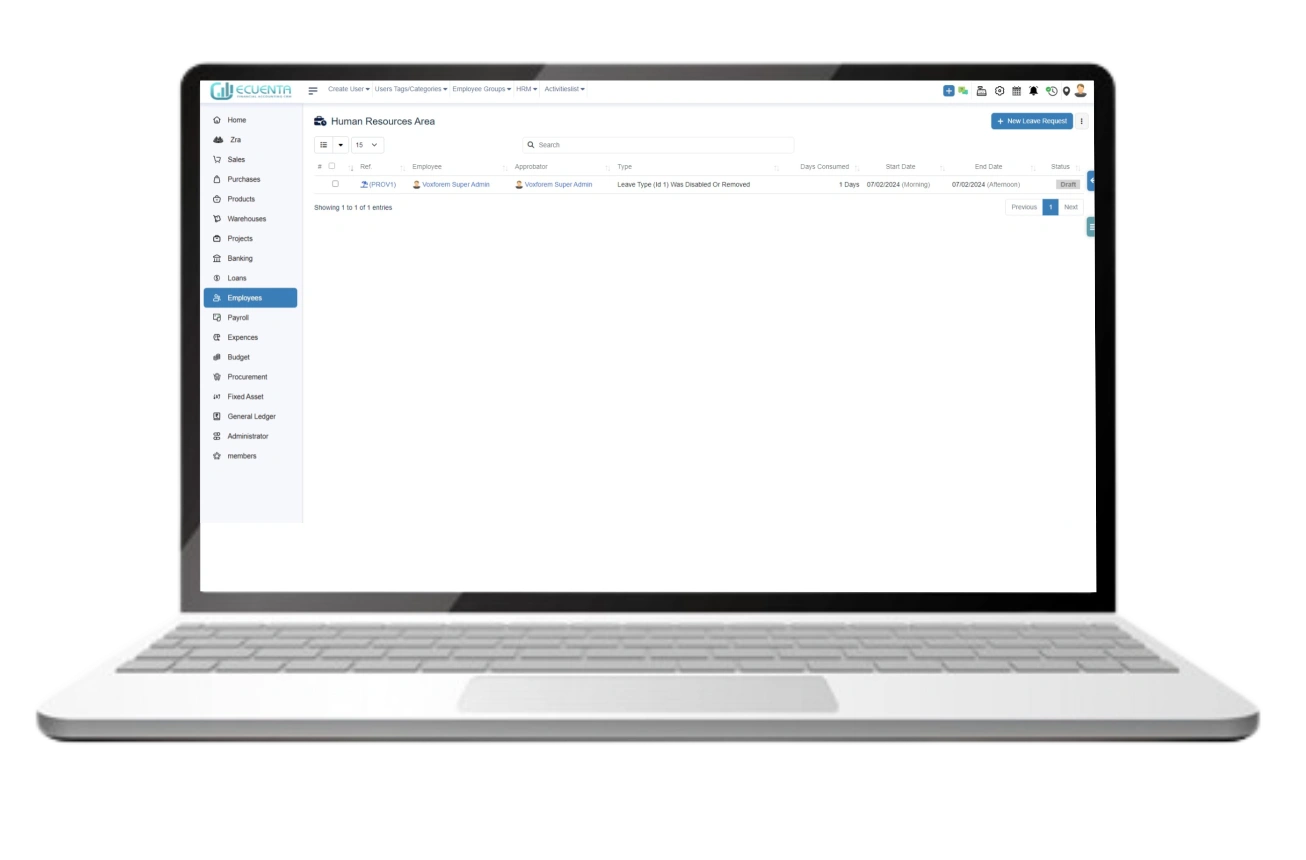
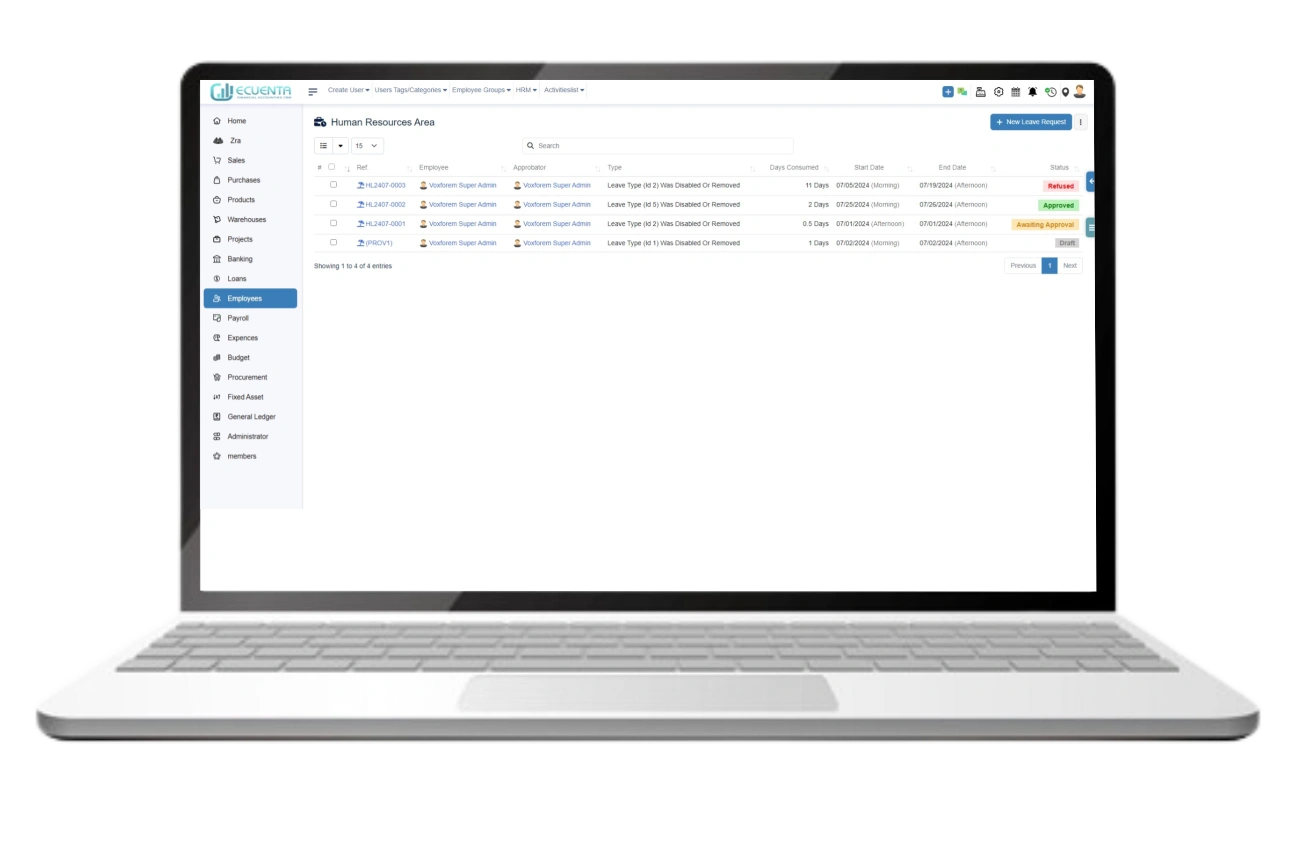
4.2. List leave
The leave list feature displays leave details for each employee in a list format. It includes information such as the employee's name, type of leave, start & end dates, and approval status.
Additionally, you have the option to directly create a leave request here.
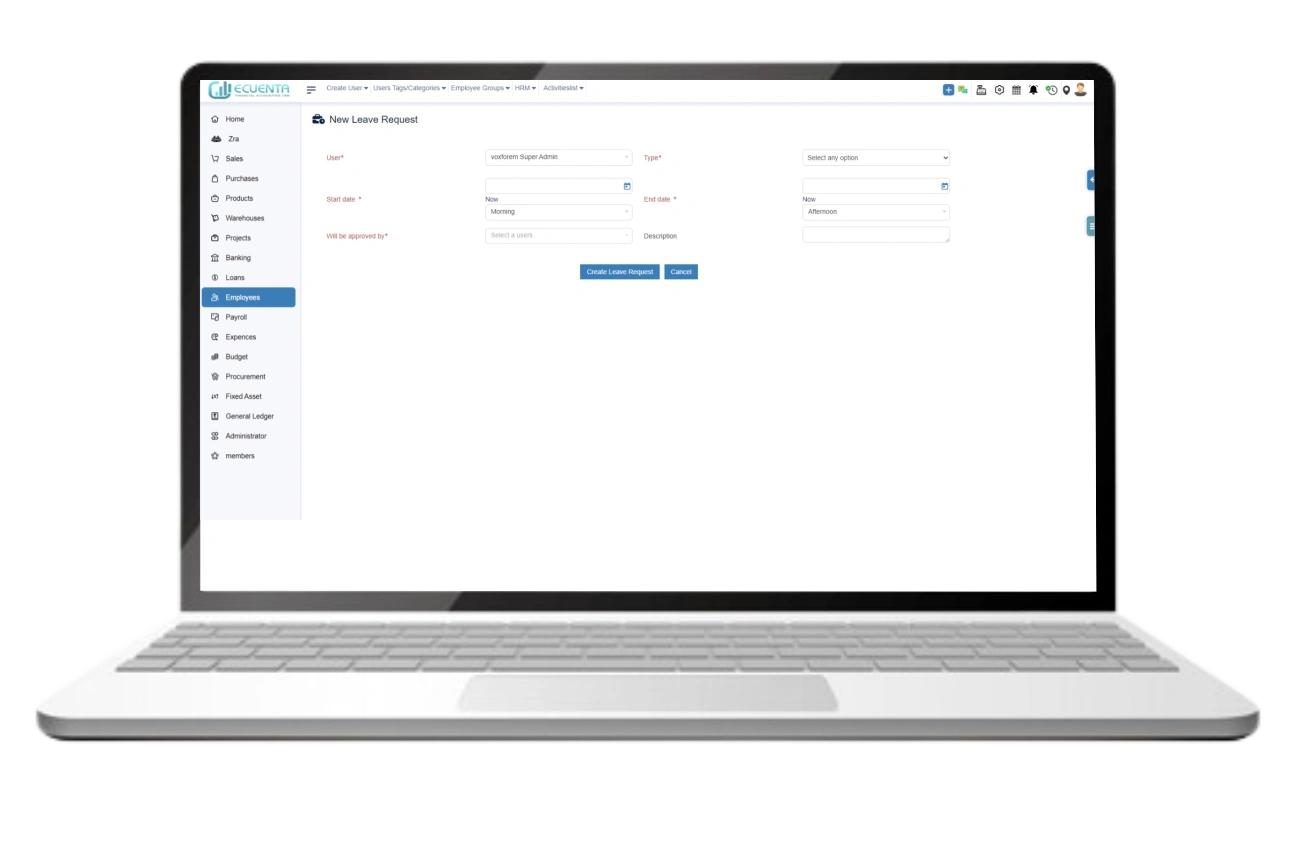
4.3. New Leave Request
With this feature, you can generate a leave request for an employee. Simply select the user name, leave type, duration of the leave, and the approver from the dropdown menu. These details suffice for initiating a new leave request.
The leave list displays the draft, awaiting approval, approved, cancelled, and refused leave requests.
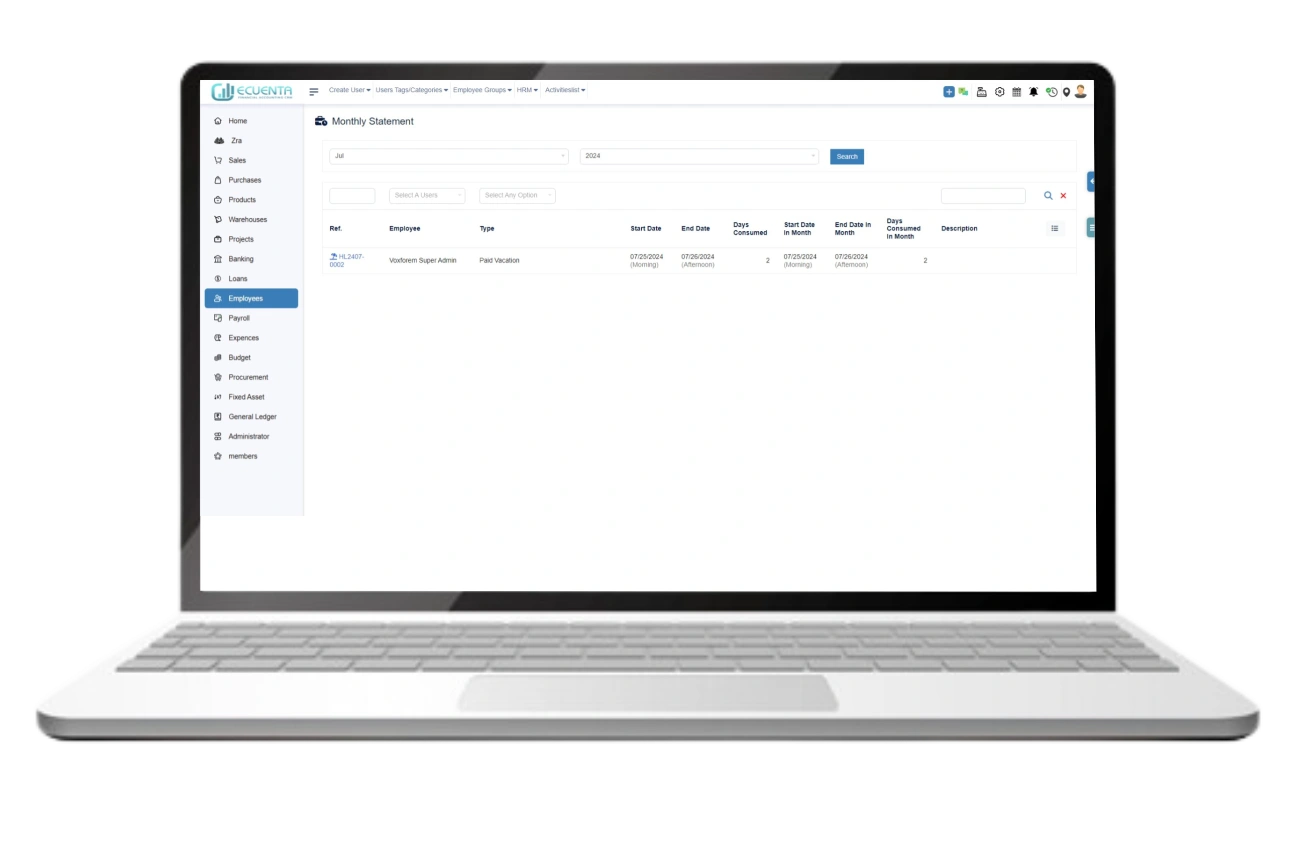
4.4. Monthly Statement
You can conveniently filter the employee monthly statement using options such as month, year, and name.
Once you've applied the filter, you can review the employee's monthly statements.
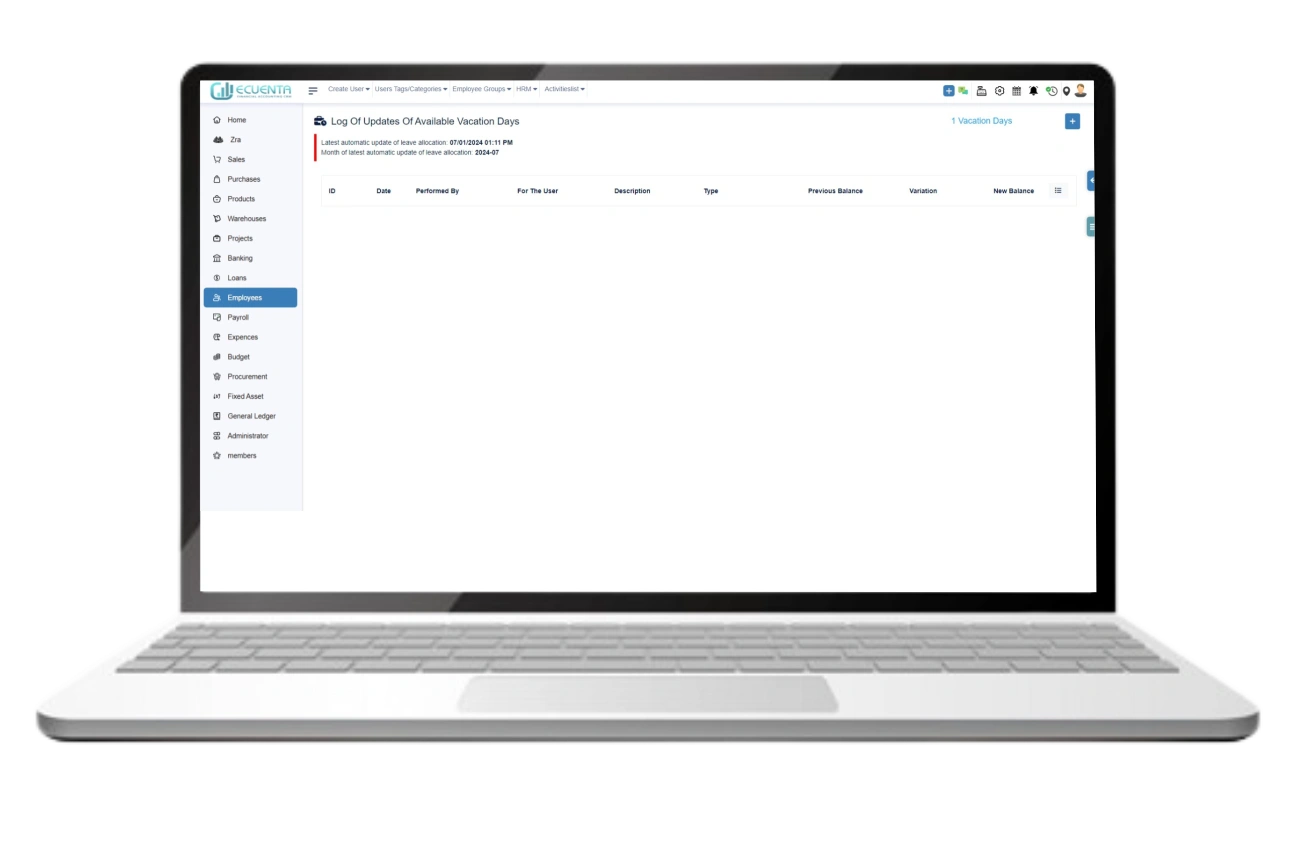
4.5. Log Of Updates Of Available Vacation Days
The available vacation days display the latest automatic update of leave allocation and the month of the latest automatic update of leave allocation.
Upon creating a new leave request, the allocated leaves are displayed on this dashboard.
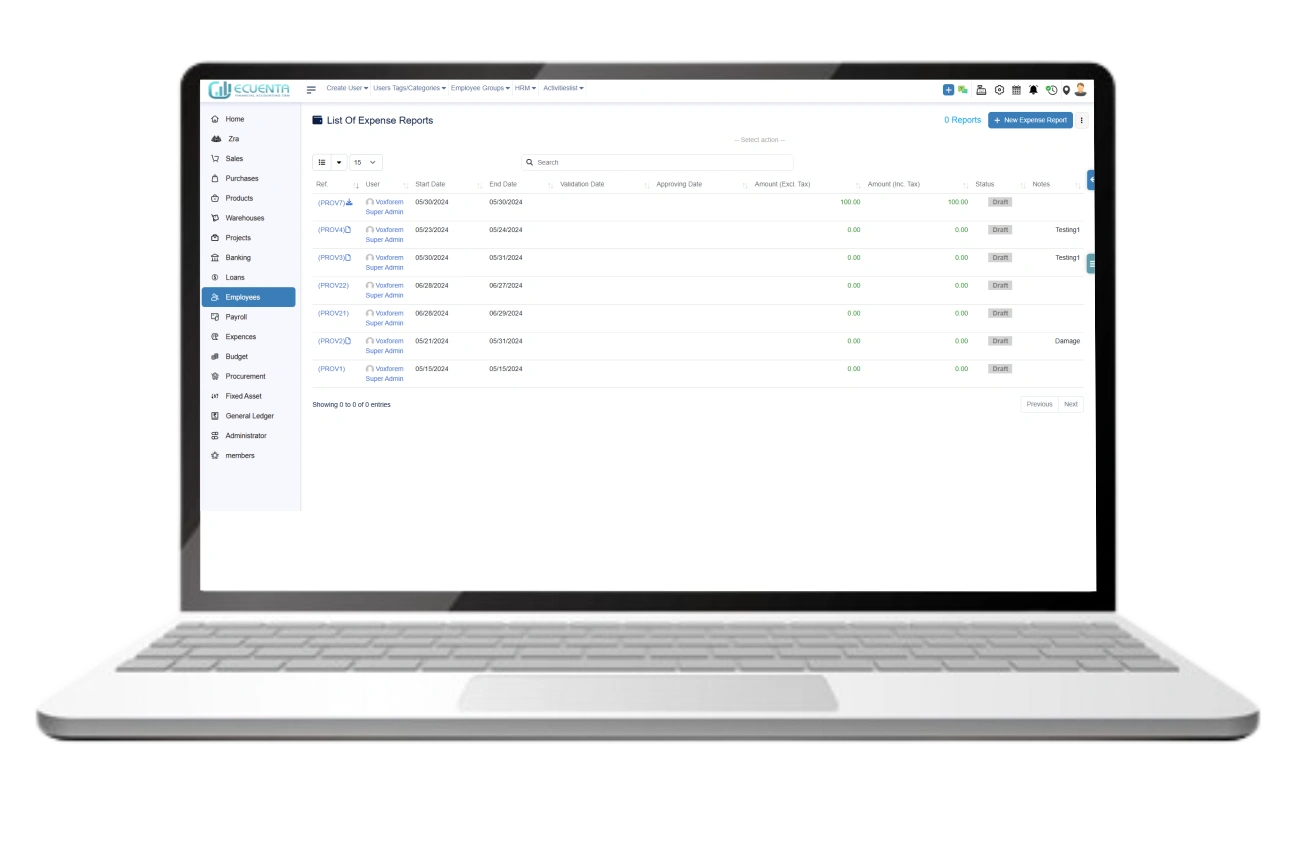
4.6. Expense Reports Area
To create a new expense report for the employee, specify the start and end dates, select the user's name, and designate the approver.
The expense report section displays statistical data on recent expenses, including the total amount with and without tax.
4.7. Draft Expense Reports
Once the expense report is created, it will be in draft status, which can be reviewed in the expense report dashboard.
4.8. Validate Expense Reports
After creating the expense report, it will move to the validation stage, where it will be reviewed and approved by the designated approver.
4.9. Approved Expense Reports
After validation, the expense report will either be approved or rejected. You can track these statuses in the list of expense report statuses.
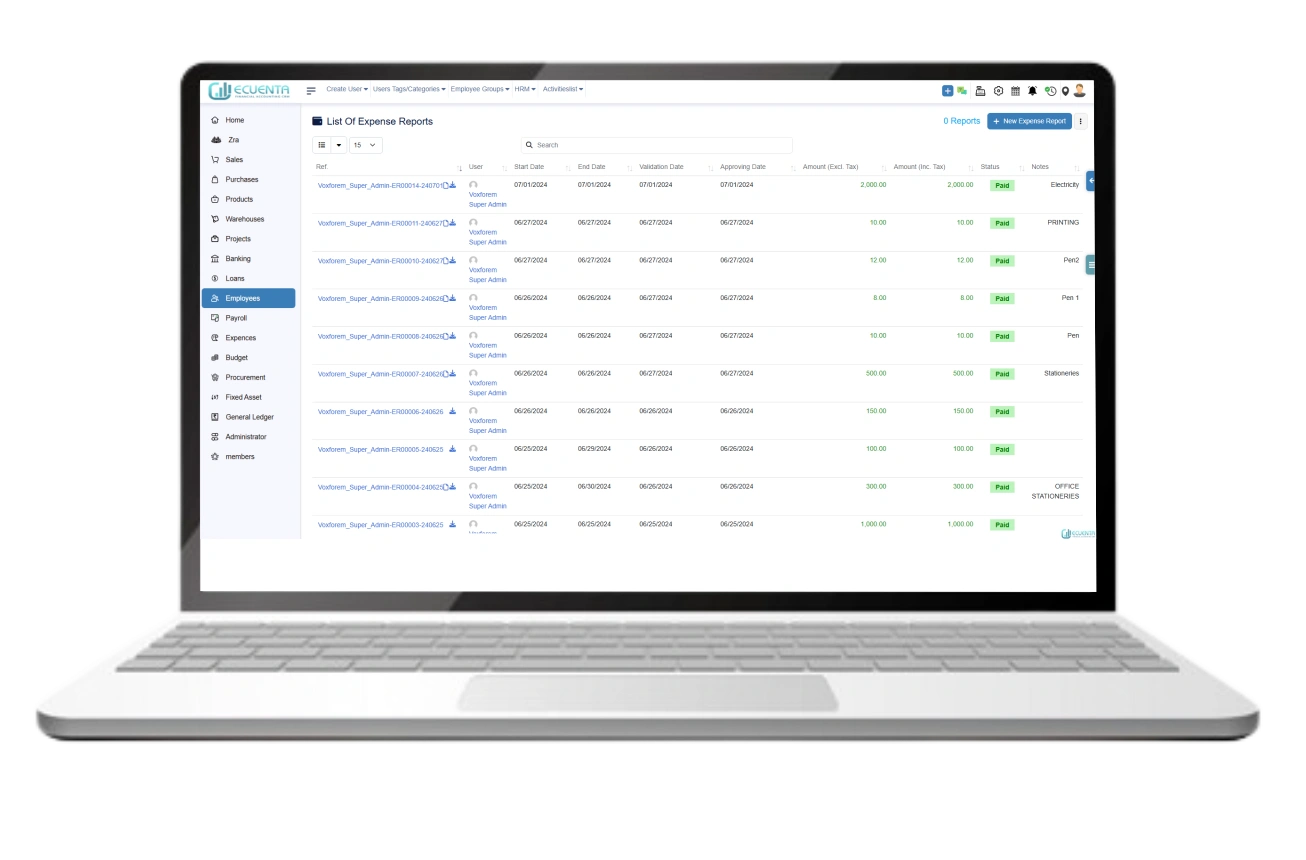
4.10. Paid Expense Report
The paid expense report includes details of both paid and unpaid leaves, specifying the number of leaves for each category.
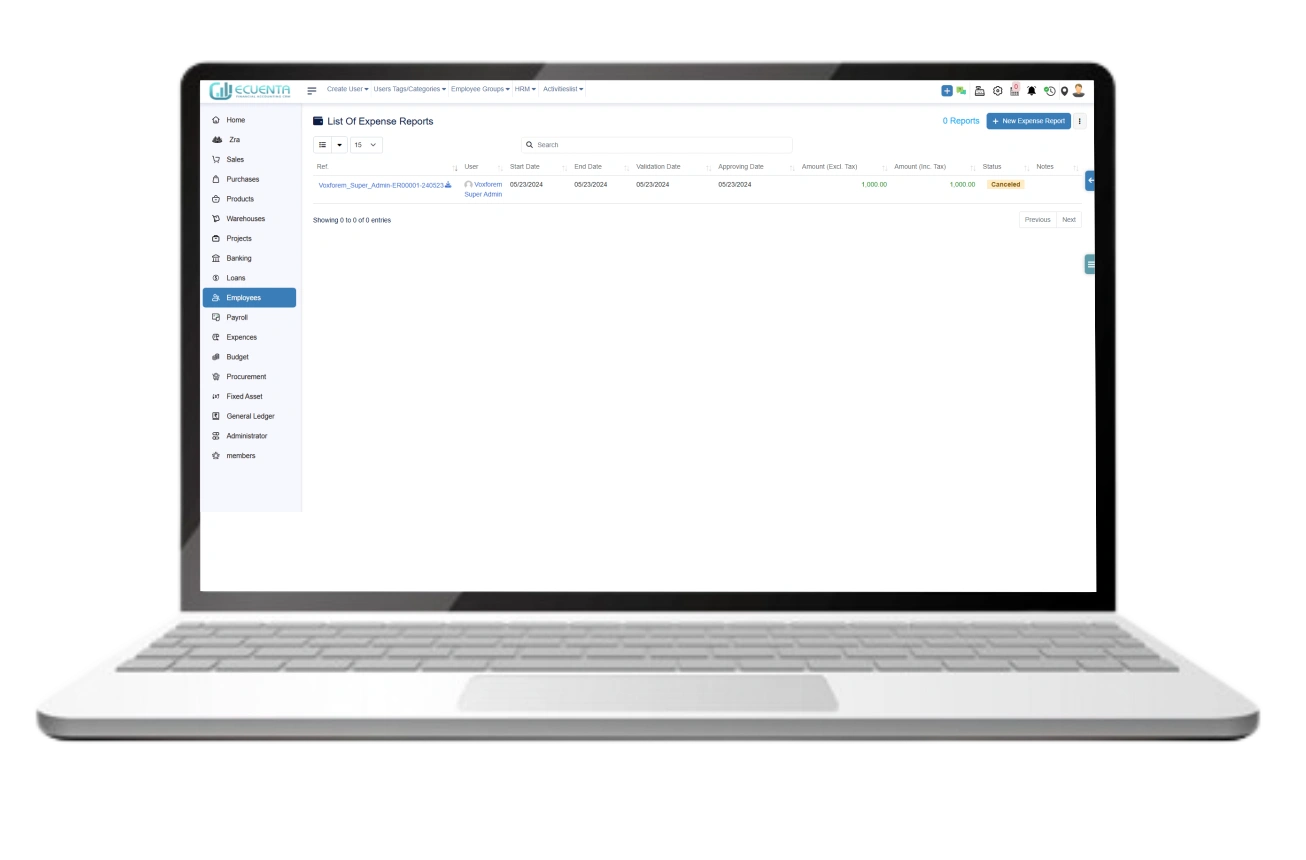
4.11. Cancelled Expense Report
After submitting the expense report, it undergoes approval. The approver can then choose to approve or cancel the report. The cancelled reports are also accessible within the dashboard.
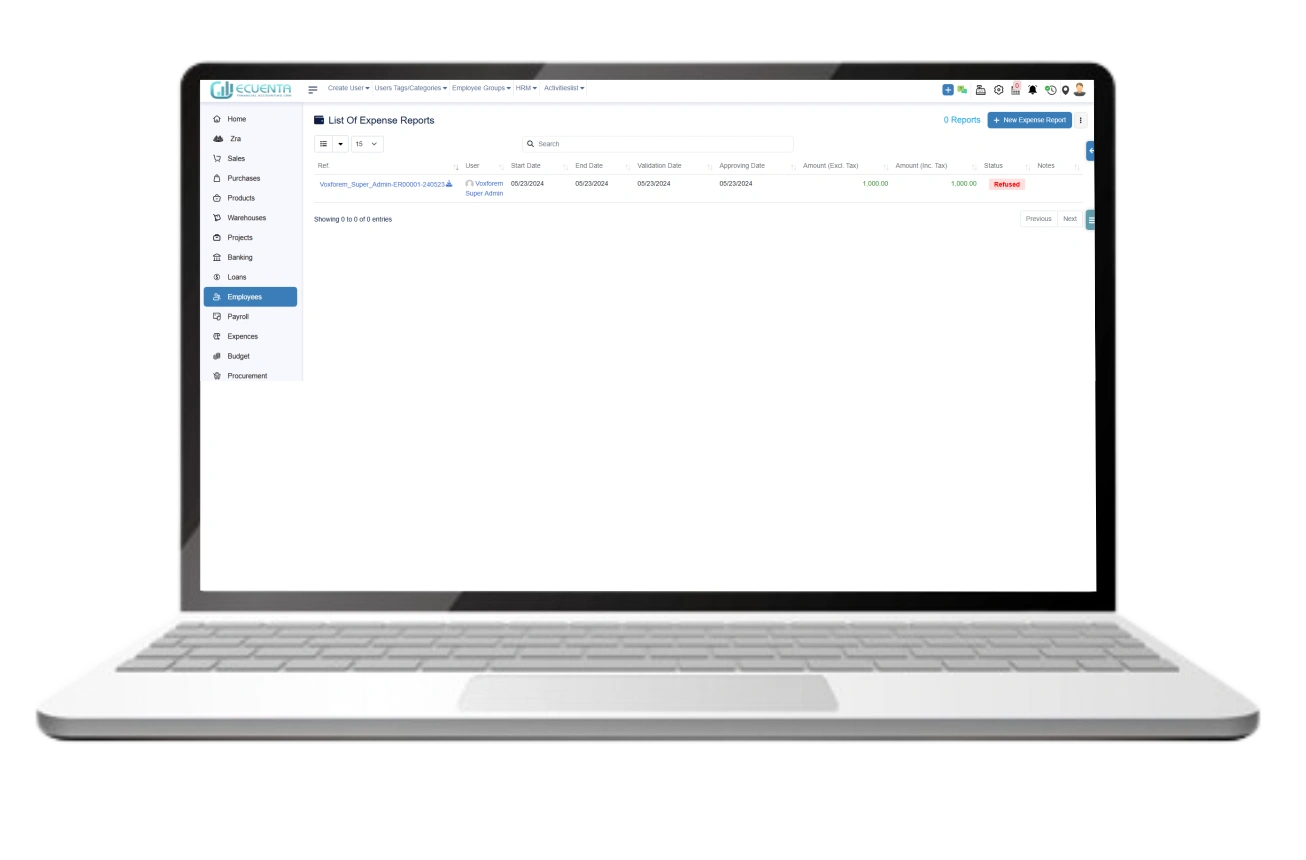
4.12. Reused Expense Report
The refused expense report indicates that the approver has the option to reject the report, which will be displayed within the dashboard.
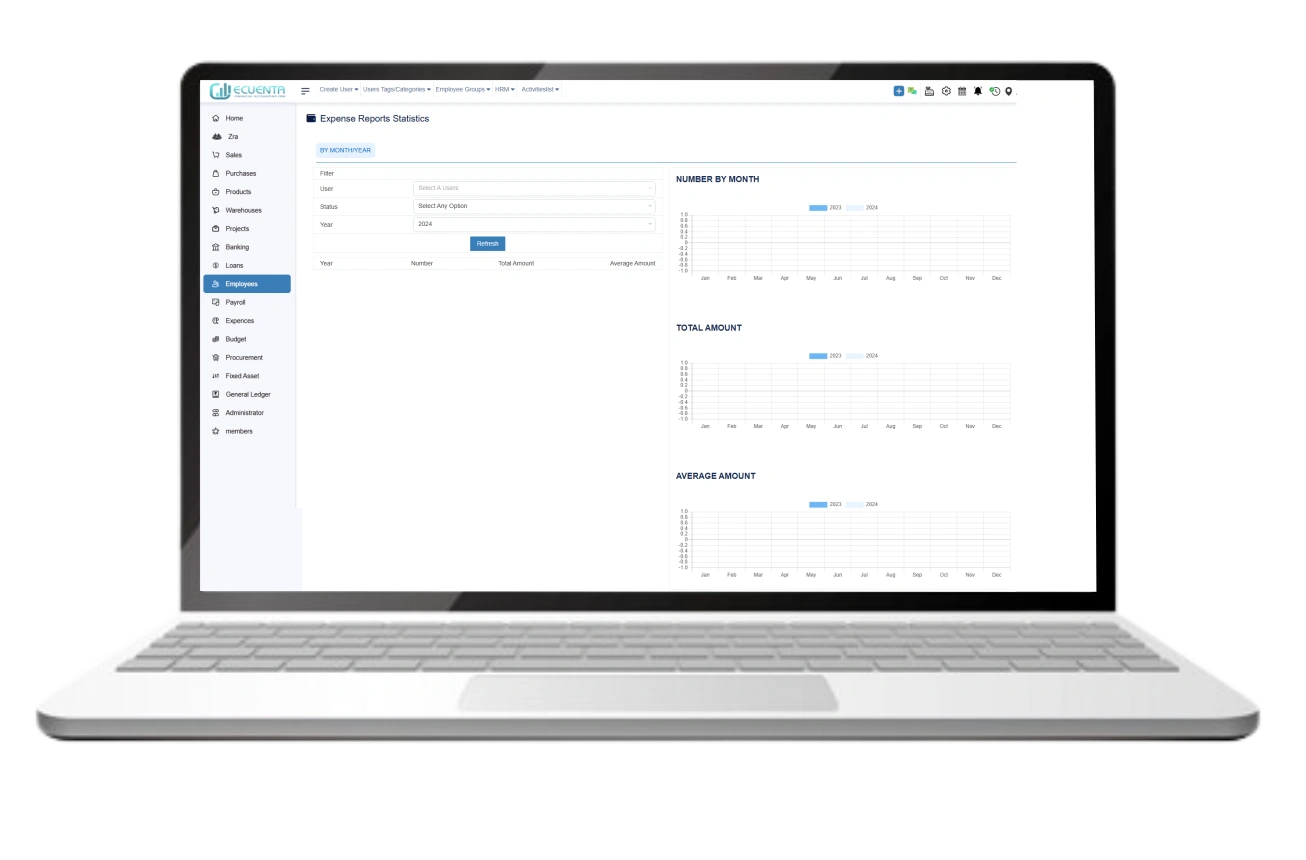
4.13. Statistics Expense Report
The expense report statistics can be viewed in a bar chart format for easier analysis.
You can filter the expense report based on user, status, and year using the filter options available.
After applying the filter to the statistical report, the bar chart will display data categorized by month, including the average and total amounts.
4.14. Time spent
This view is exclusive to projects or tasks where you're designated as a contact, segmented by month, week, and day.
Within this interface, you can review the task name, planned workload, actual progress, and time spent.